Installation & Initial Setup of Scenario for Outlook add-in
NOTE - The screen images in this help may be slightly different from your Outlook application due to the differences in Outlook versions, settings, etc.
How do I Install Scenario for Outlook add-in?
You can install Scenario for Outlook add-in the same manner as all other Outlook Add-ins.
1. Open ‘Add-ins for Outlook’ page on a web browser
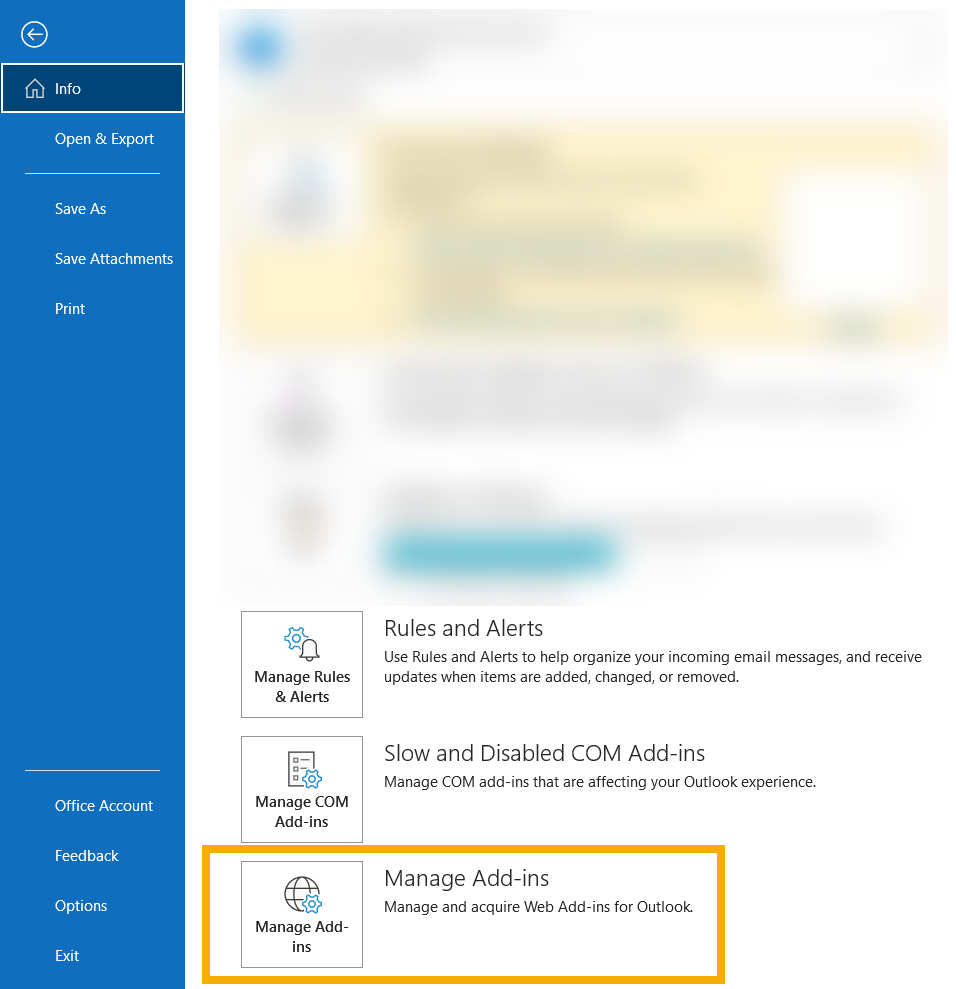
From the Outlook desktop client, go to File > Info, and click Manage Add-ins. This will open the Outlook web client on a web browser.
Alternatively, if you already have Get Add-ins menu available in the Ribbon, you can click this to open Add-Ins for Outlook page.
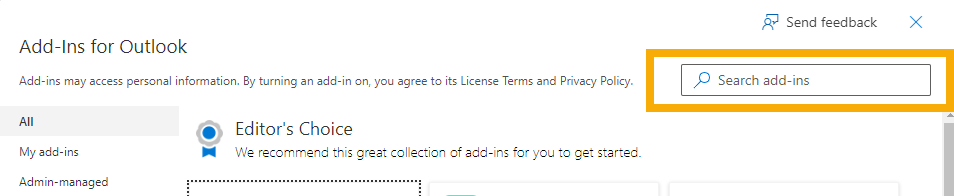
From the Outlook web client, click the button Get add-ins at the top

2. Search Scenario for Outlook add-in
Search ‘Scenario’ in the search box and hit the enter key.
3. Click ‘Add’ button for the Scenario for Outlook add-in
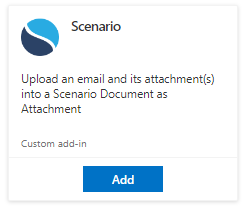
Once successfully installed, you can see the menu in the Ribbon on the Outlook desktop client as well as on the Outlook web client.

How Do I Setup & Login?
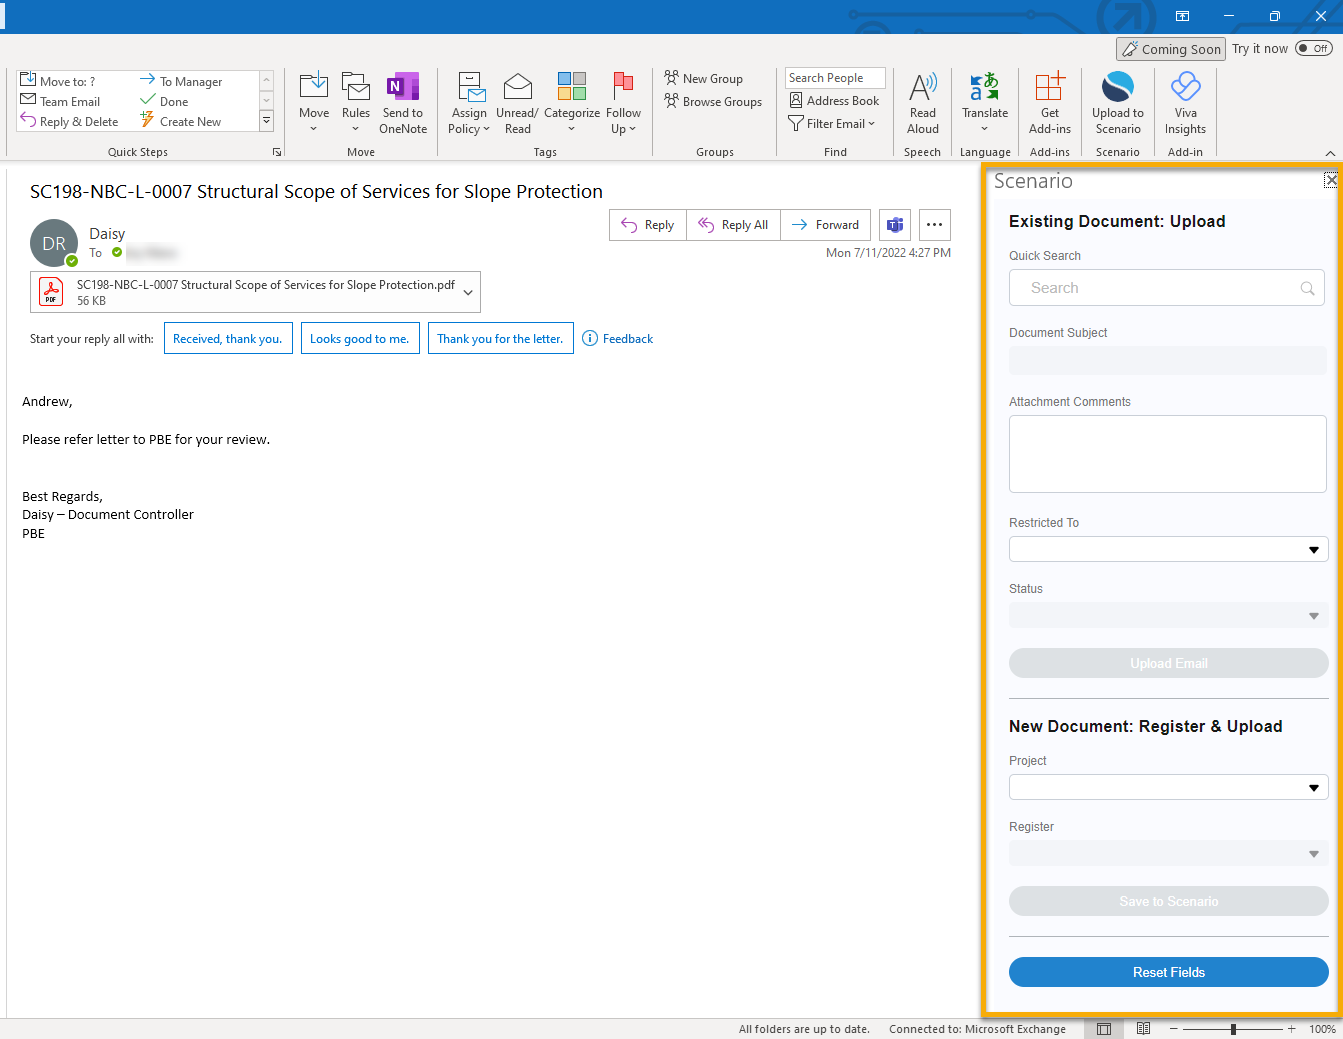
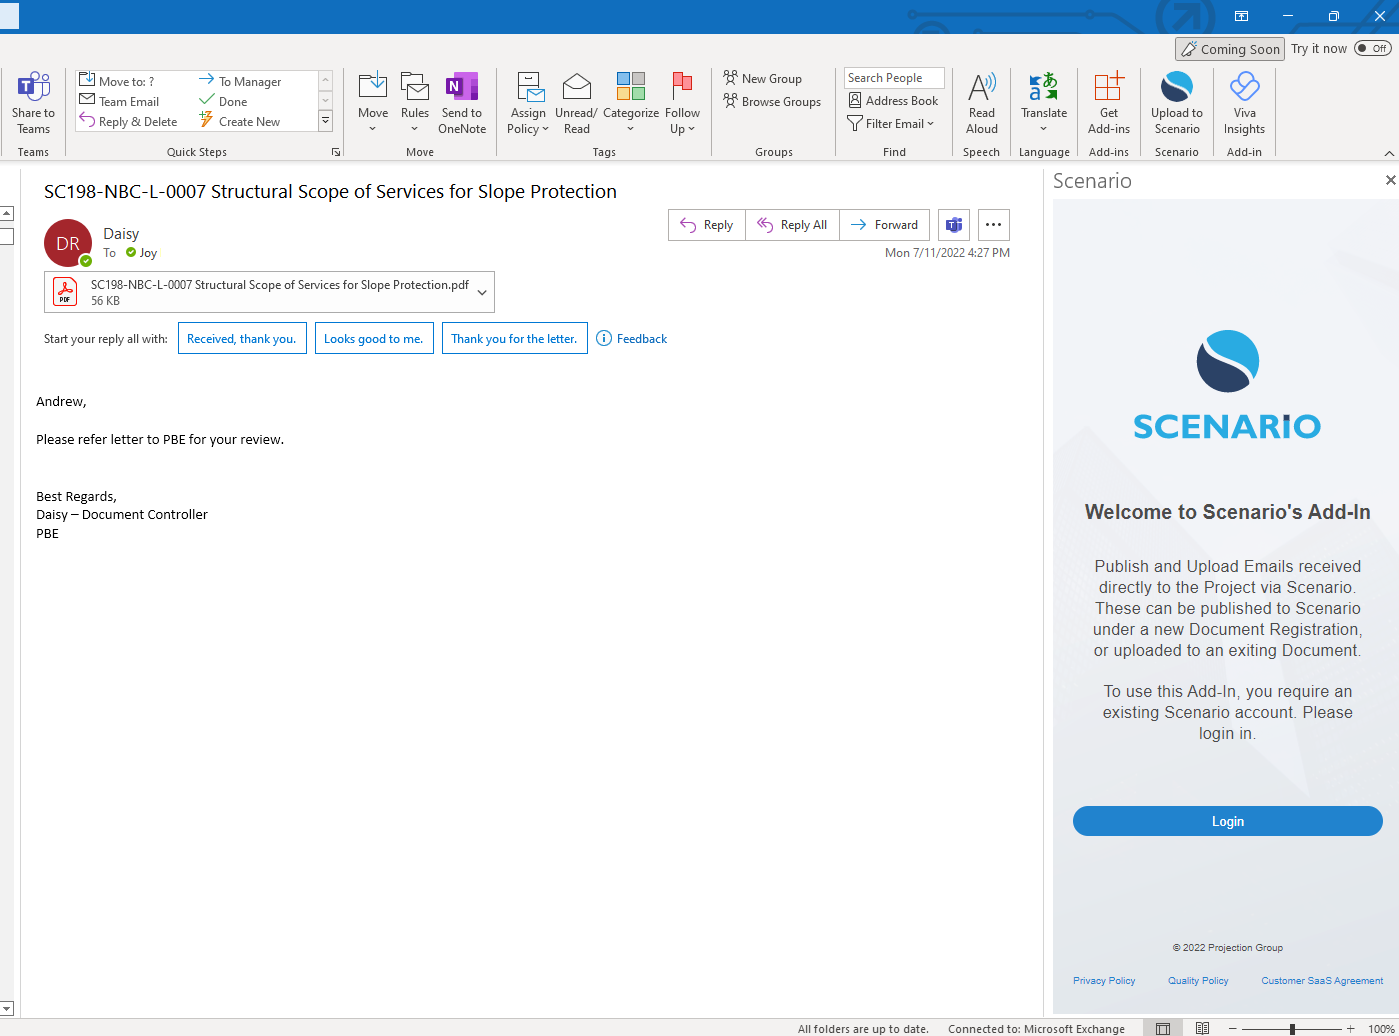
1. Select an Email and click Scenario for Outlook add-in. Scenario panel will show up then click on the Login
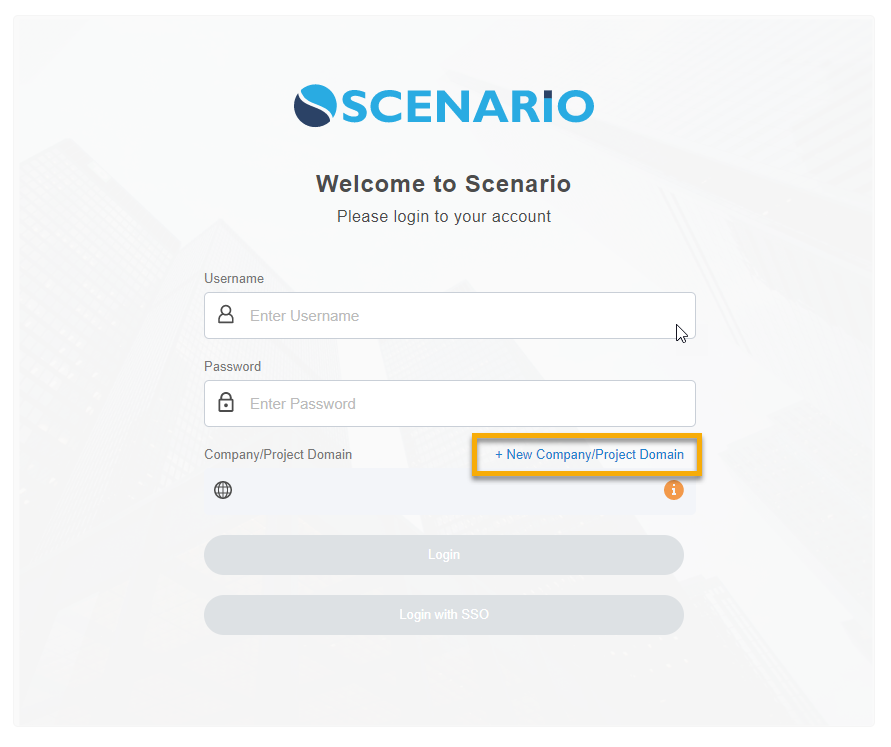
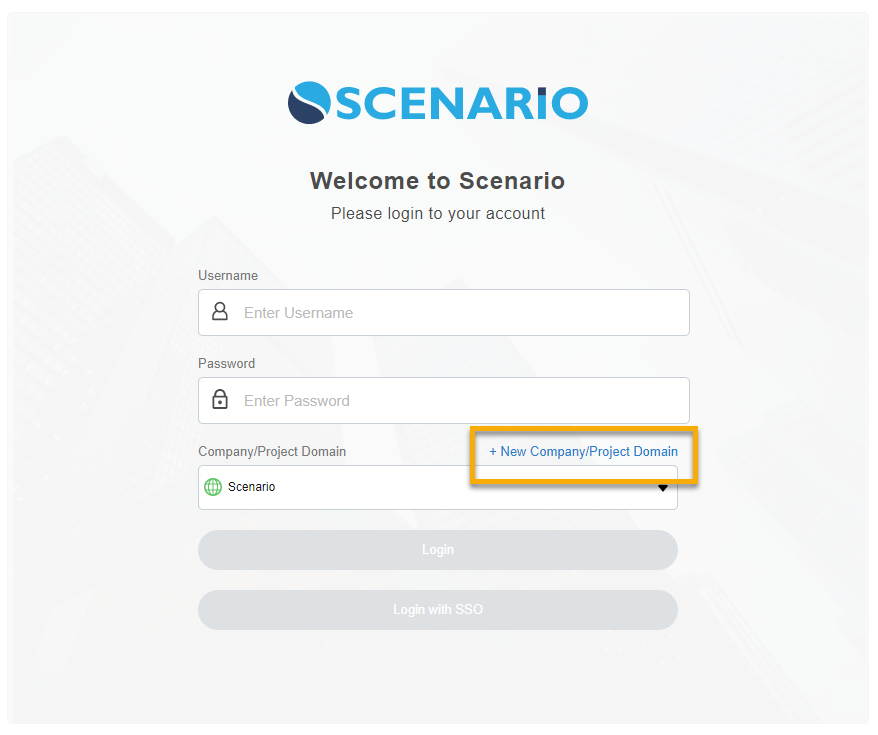
2. A new small window appears for the login screen, select + New Company/Project Domain
3. Input the provided URL on Add New URL field to connect to your Scenario server.
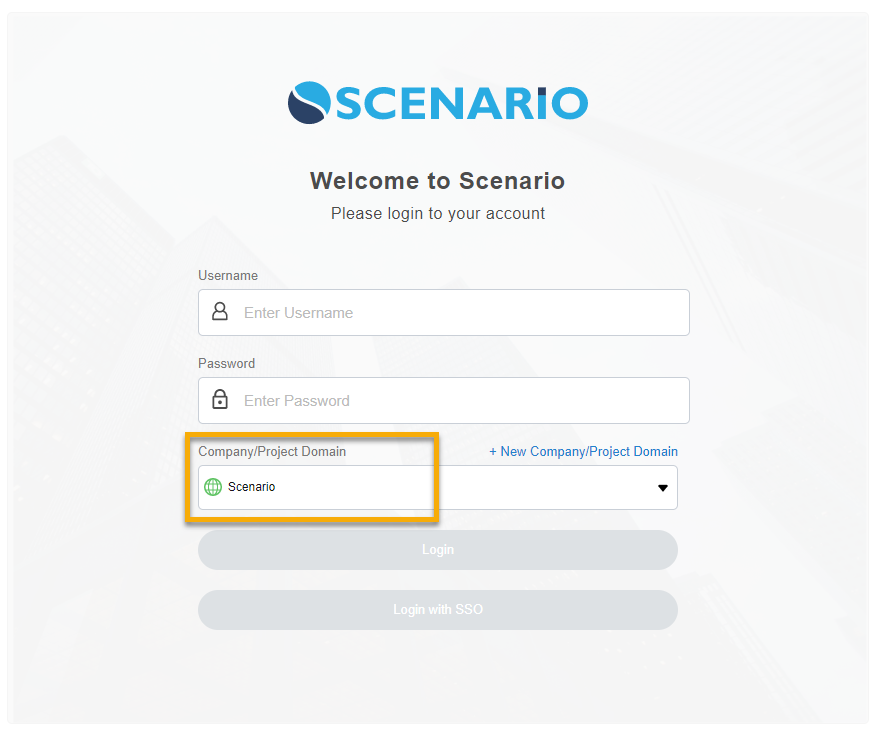
4. The Company/Project Domain field will be auto-populated, but you can rename it.
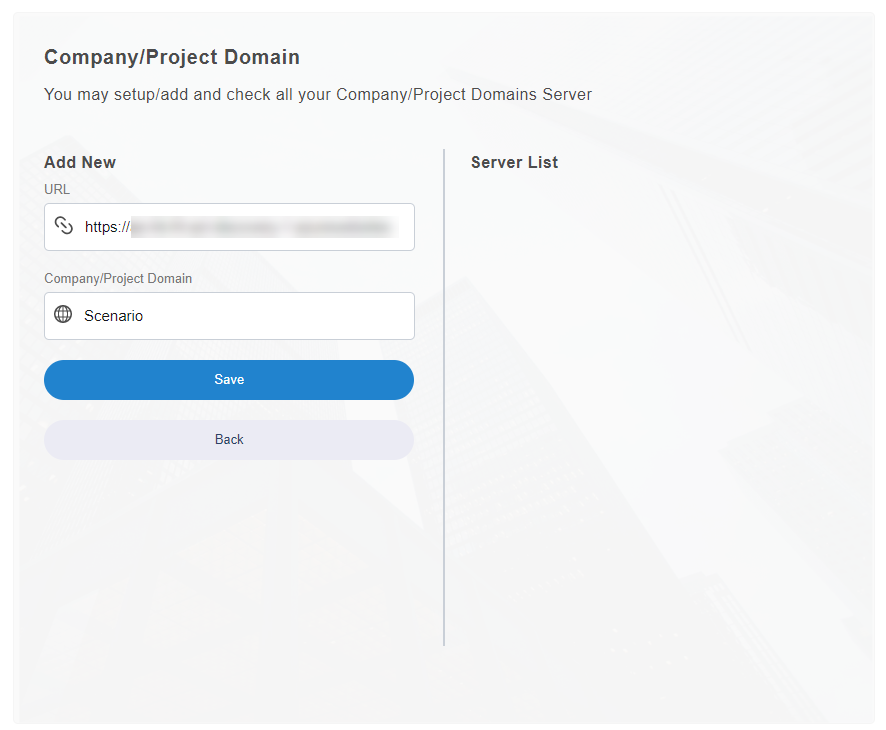
5. Click Save and it will prompt you for a successful domain setup.
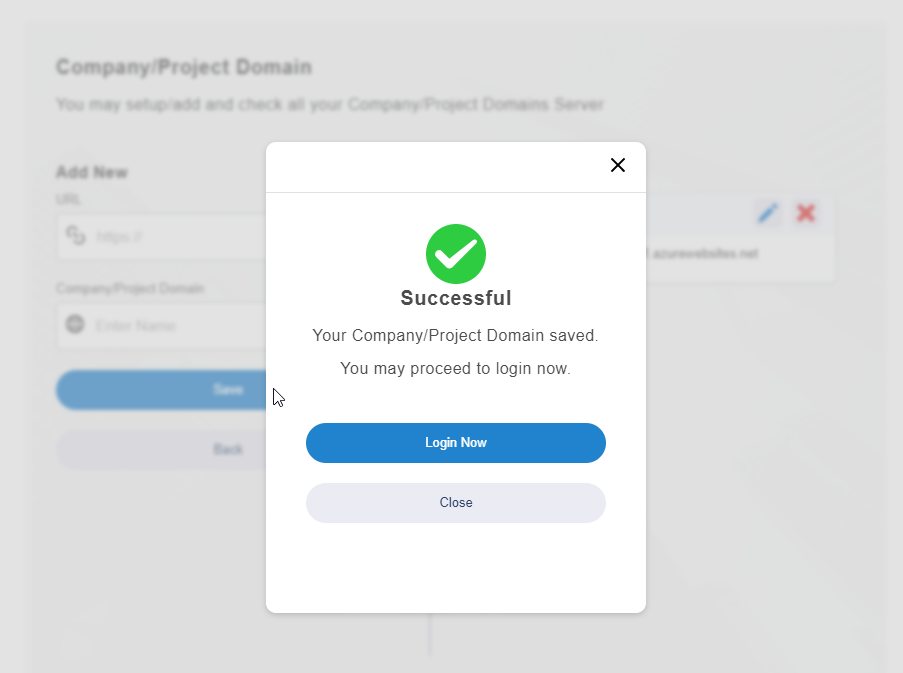
6. Click Login Now to go back to the login page with the configured Company/Project Domain.
7. When you need to review the existing domains, edit, or add more domains, click + New Company/Project Domain.
Note: Company/Project Domain > Server List "item" should appear in a green icon indicating you are connected with the server
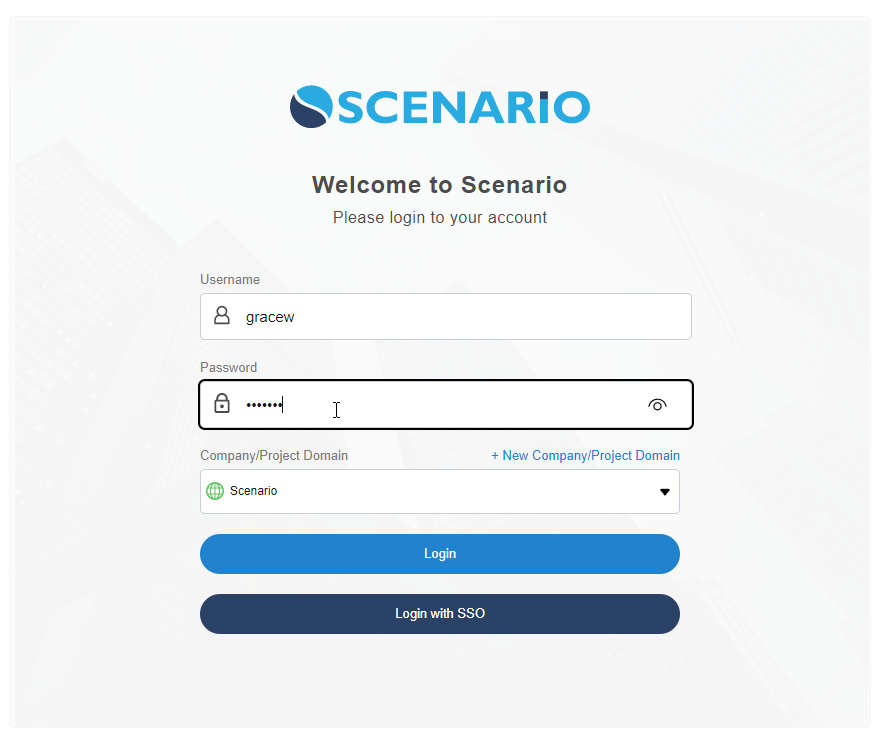
8. Enter your Scenario Username and Password, then click Login.
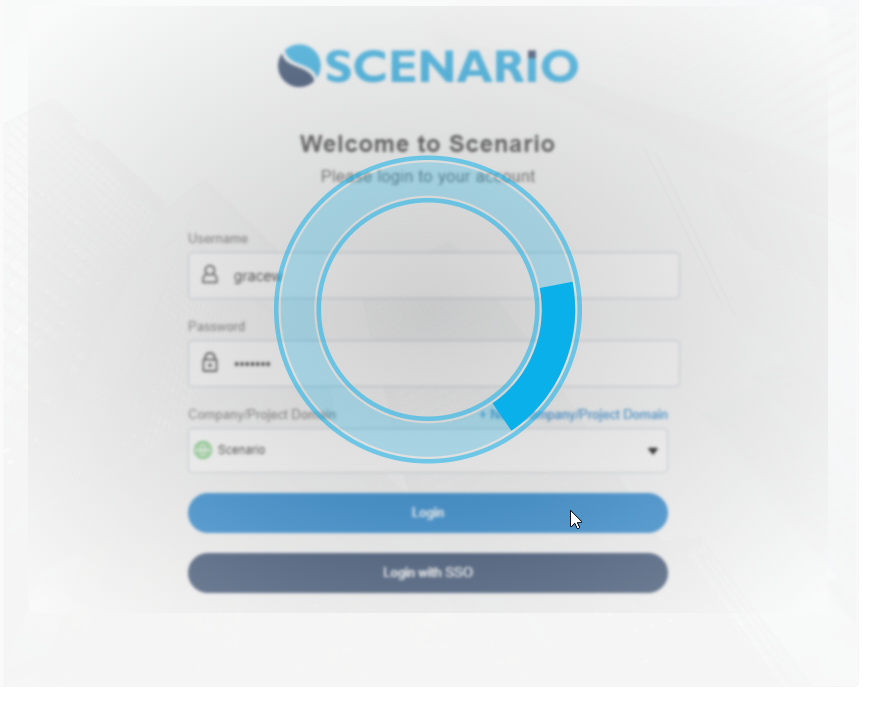
9. Once you are logged in, Scenario panel should now appear on your desktop Outlook client.
It works in the same way with the Outlook web client as well.