Add Attachment
Contents
Overview
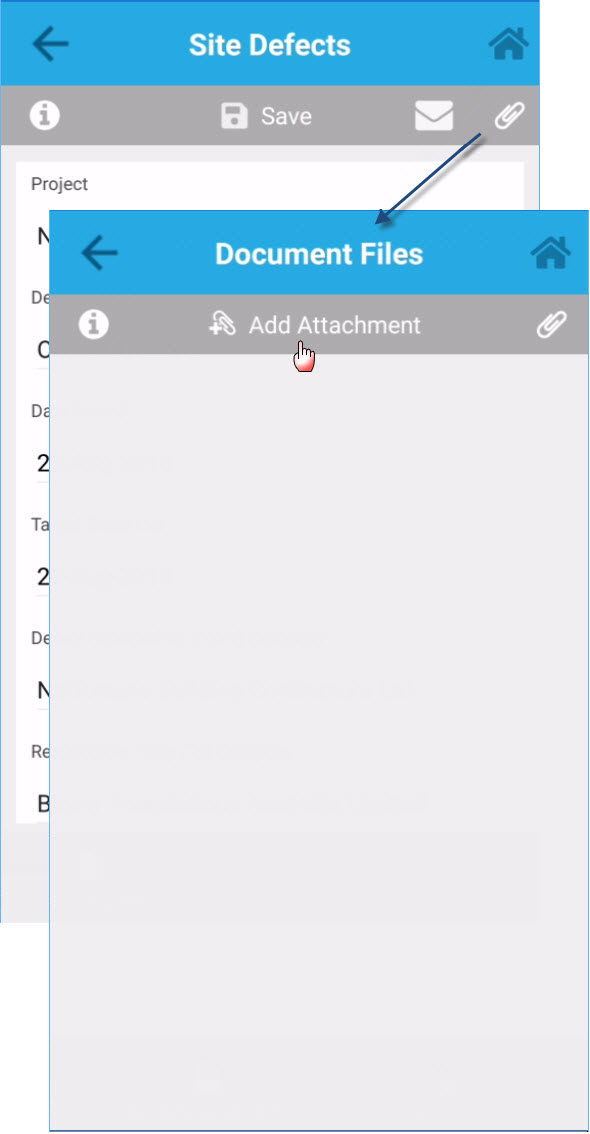
Add Attachment feature is present in the Document form screen. The User can add attachments/images against a newly created or downloaded Document from the server.
New attachments can be edited and added with mark-up; yet limited to downloaded files for it can only be rotated. Attached files will be synchronized to the server once uploaded.
Screen Explanation
Option | Description |
|---|---|
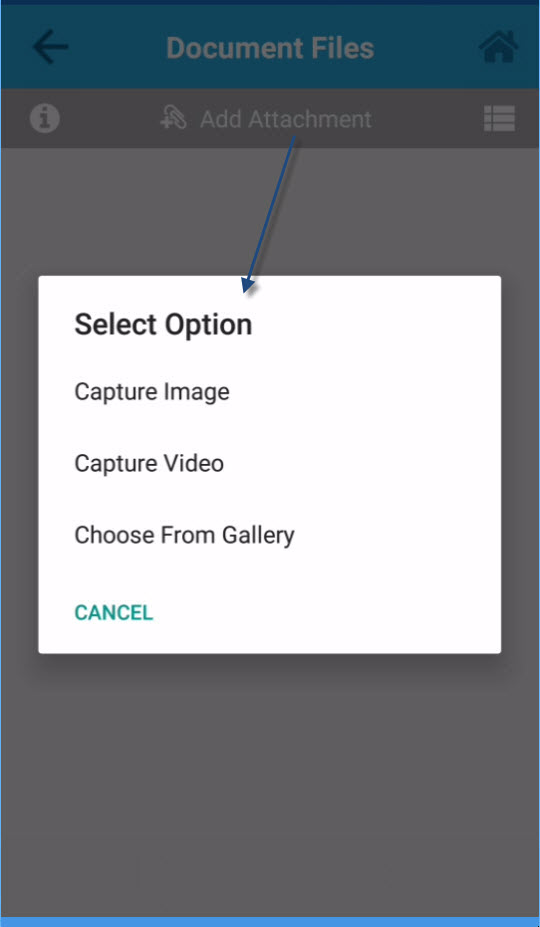
Capture Image | When this option is selected, the mobile camera will be opened and you can then start capturing the image(s). |
Capture Video | The same as Capture Image, the mobile camera will be opened and you can record recording the video you want to capture. |
| Choose from Gallery | Choosing from Gallery means selecting an existing image from your phone Gallery. |
How Do I?
How Do I Add Attachment?
1. Select the Attachment icon from the Document form screen. |
|---|
|
From the Document form screen, click the Attachment icon to open the Document Files screen, then click the Add Attachments button to display the 'Select Option'. You can either select to 'Capture Image', Capture Video, or Choose an image from the phone Gallery. |
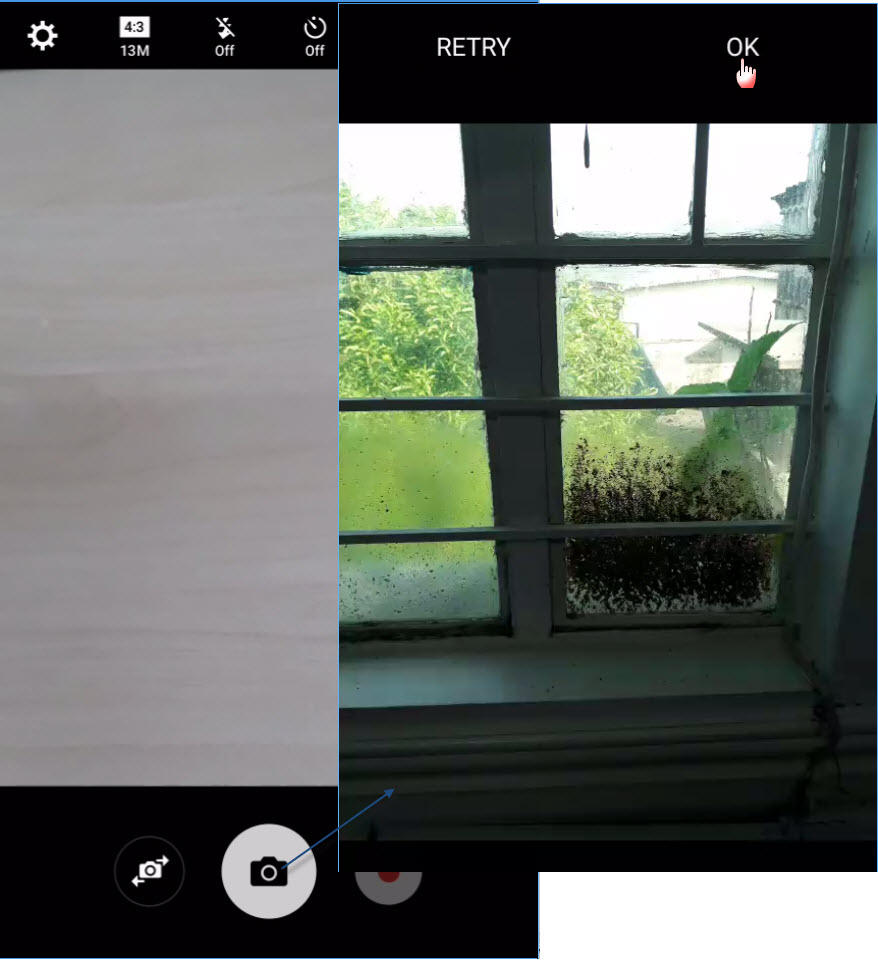
2. Capture Image or Video or Select from the Phone Gallery |
|---|
|
After capturing an image, click Ok to save it; otherwise, click Retry to retake a picture. |
|
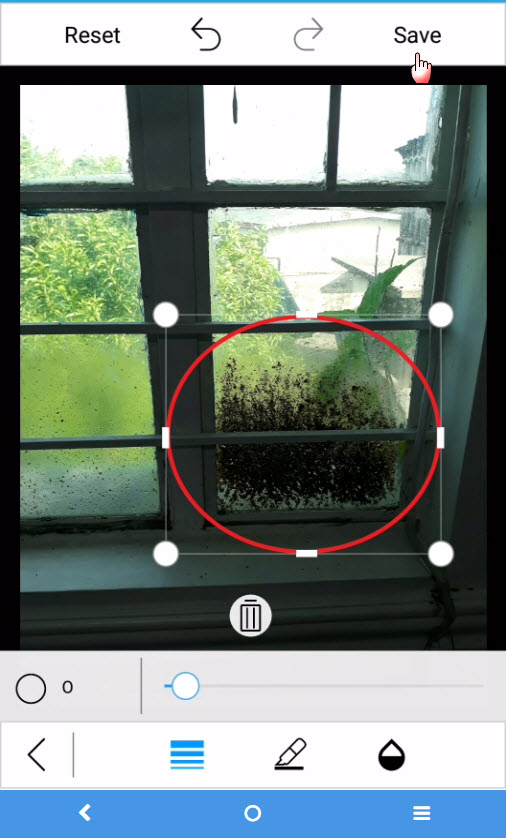
You can edit or add mark-up to the image; when no mark-up is needed, the image will be saved as captured. Note - only newly attached files can be edited or added with mark-up; once already uploaded to the server, the images can be viewed and rotated but no longer editable. |
|
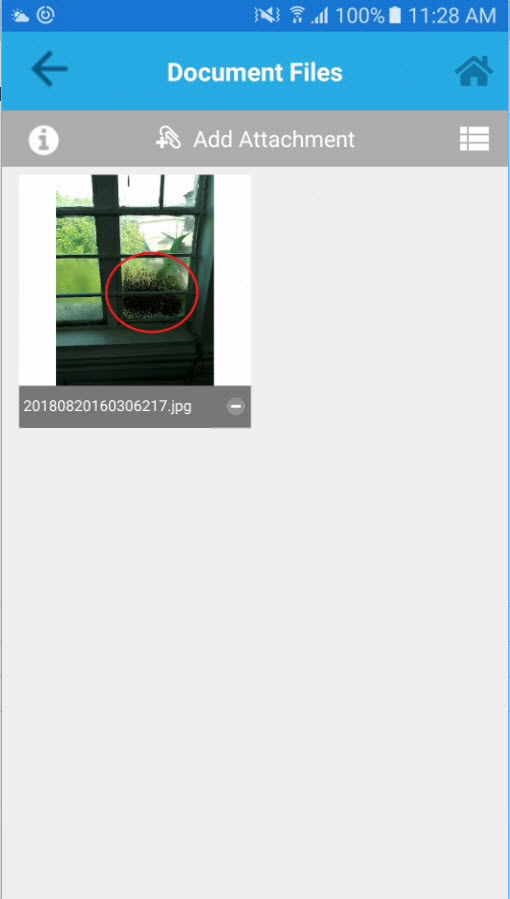
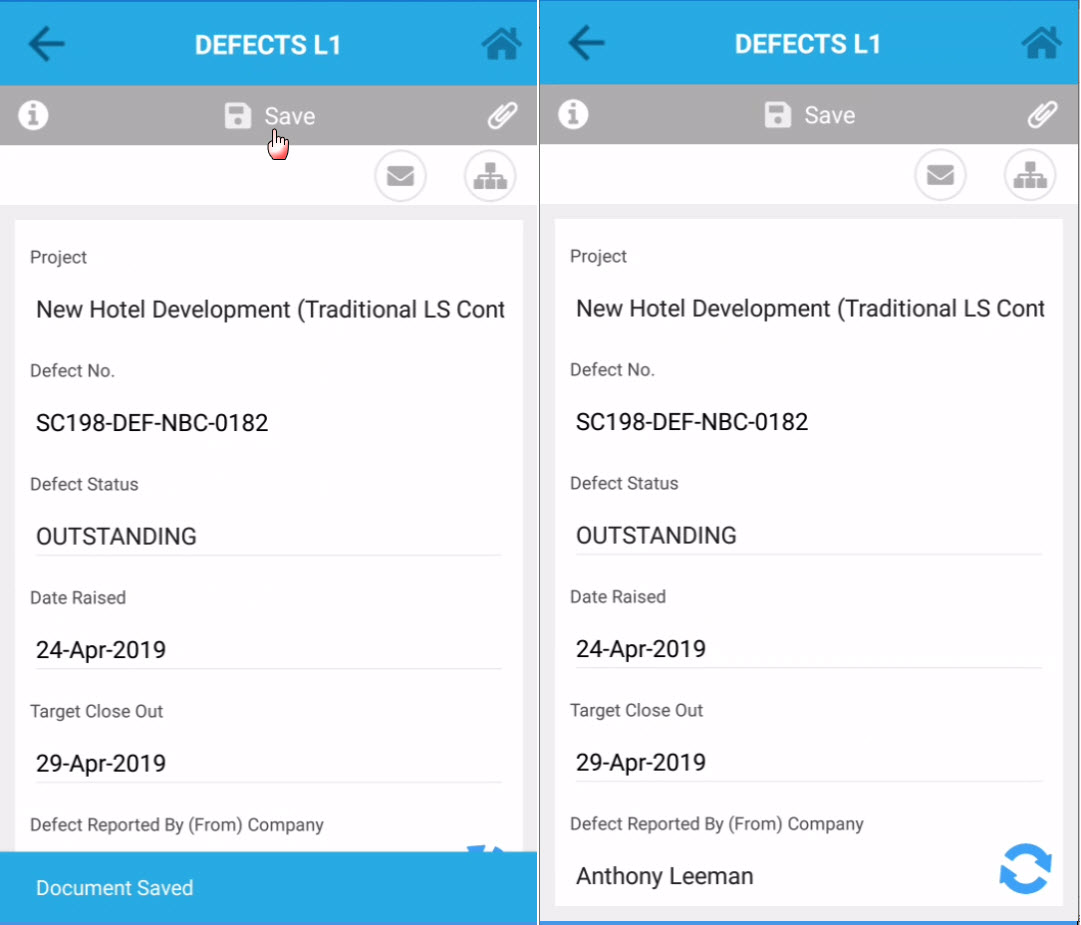
The attached file(s) will be displayed against the Document under Document Files as well as in View Saved Files Menu. After adding an attachment, the Attachment will not be automatically saved; note that the the 'Save' button in Document Details screen must be clicked in order to save the added attachment and/or the changes in details. When the setting 'Automatically upload Documents' is turned on, the uploading process will start once the User saves in Document Details screen. For instances that the User does not save the change and clicks the back arrow or the Home Menu button, a confirmation message to save the changes will be presented. The loader is being displayed as the User goes back to the Document list screen or to the Home Menu screen. Note - uploaded Documents and files will be synchronized into the server after being uploaded. |
Examples of Use
<insert examples of use here>

