LD - Latest Drawings
Contents
Overview
Latest Drawings page allows a User to download the latest attachments from a selected list of documents (e.g. Drawings).
Screen Explanation
Latest Drawings has two tabs - Search for Documents (Tab1) and To be Downloaded (Tab 2).
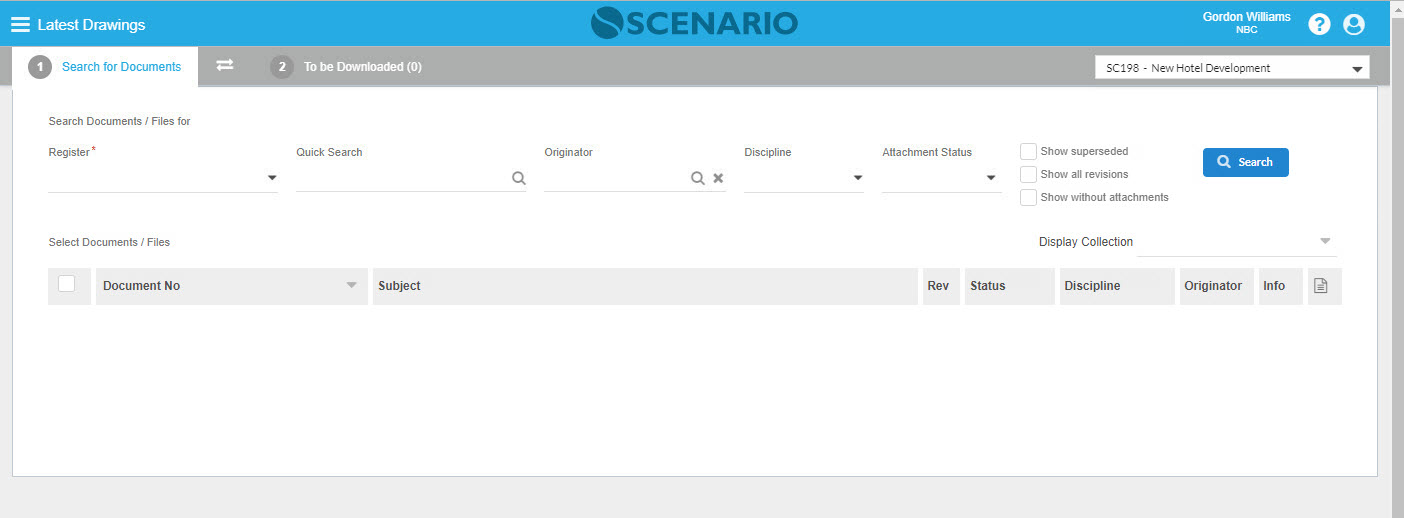
Search for Documents (Tab1)
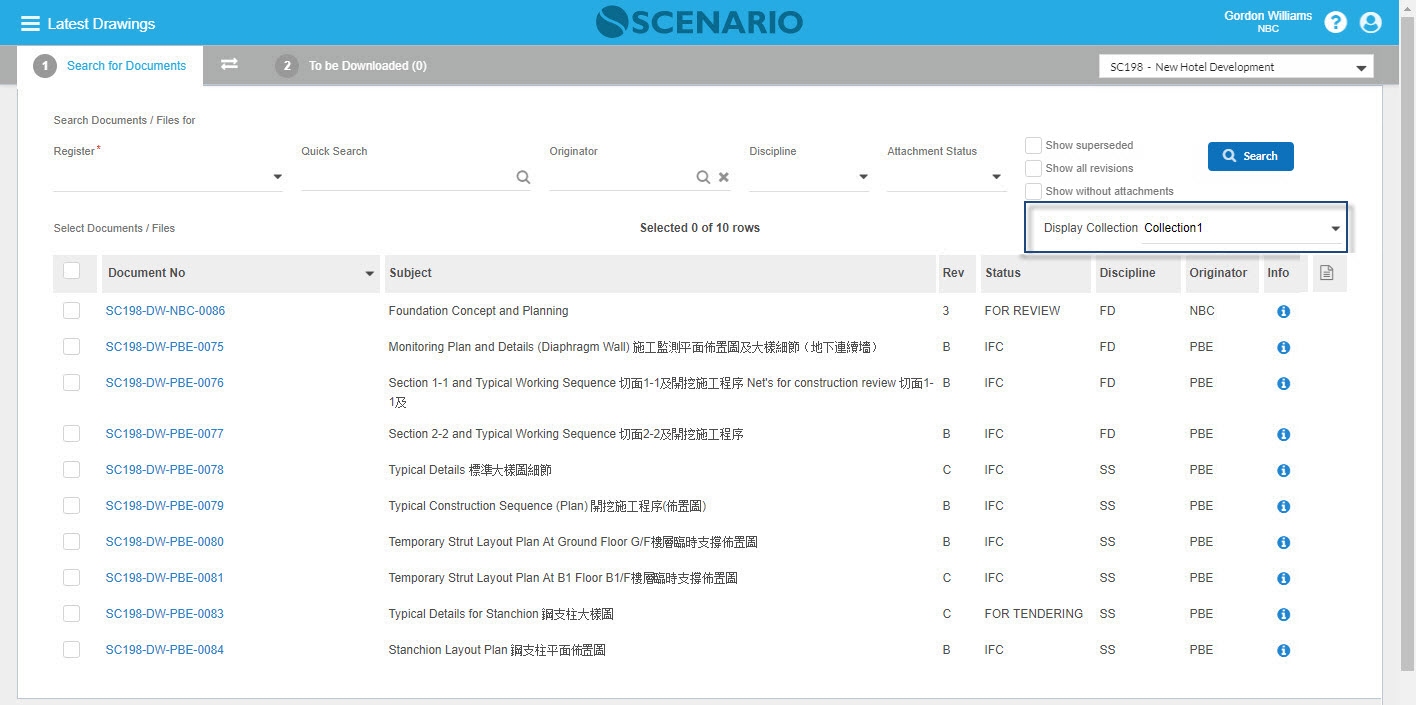
To select Attachments, User must first select one Revisable Register from the drop-down list. By default, the check-boxes 'Show Superseded', 'Show without Attachments' and 'Show All Revisions' are not ticked; i.e., only base data with latest revisions are displayed in the search result. Tab 1 displays up to 300 maximum rows.
Field / Button / Icon | Description |
|---|---|
| Project Filter | List of Projects the logged-in User has access to. You can select from the list to filter the Documents according to the selected Project. The default display is based on the Last Project used. |
Register | Register list is restricted to Revisable Registers. Note: If there is only one Revisable Register, it will auto display on the Register field |
Quick Search | Another option for easier searching of documents. It allows searching specific fields including:
|
| Filter fields: | |
| Originator | This is a From field - can only select one Company at a time. |
| Discipline | You can select from the drop-down list or enter text to search on code and name. |
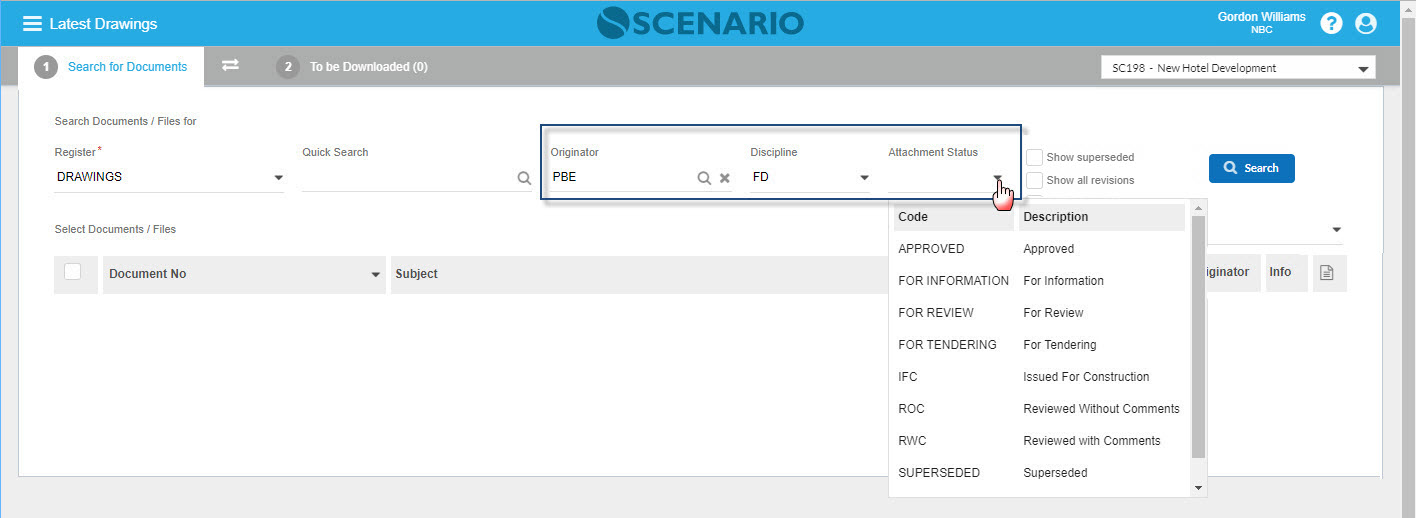
| Attachment Status | Attachment Status is Register specific. When there is no selected Register on the field yet, there will be also no Attachment Status selections that will be displayed in the list. |
| Check-boxes: | |
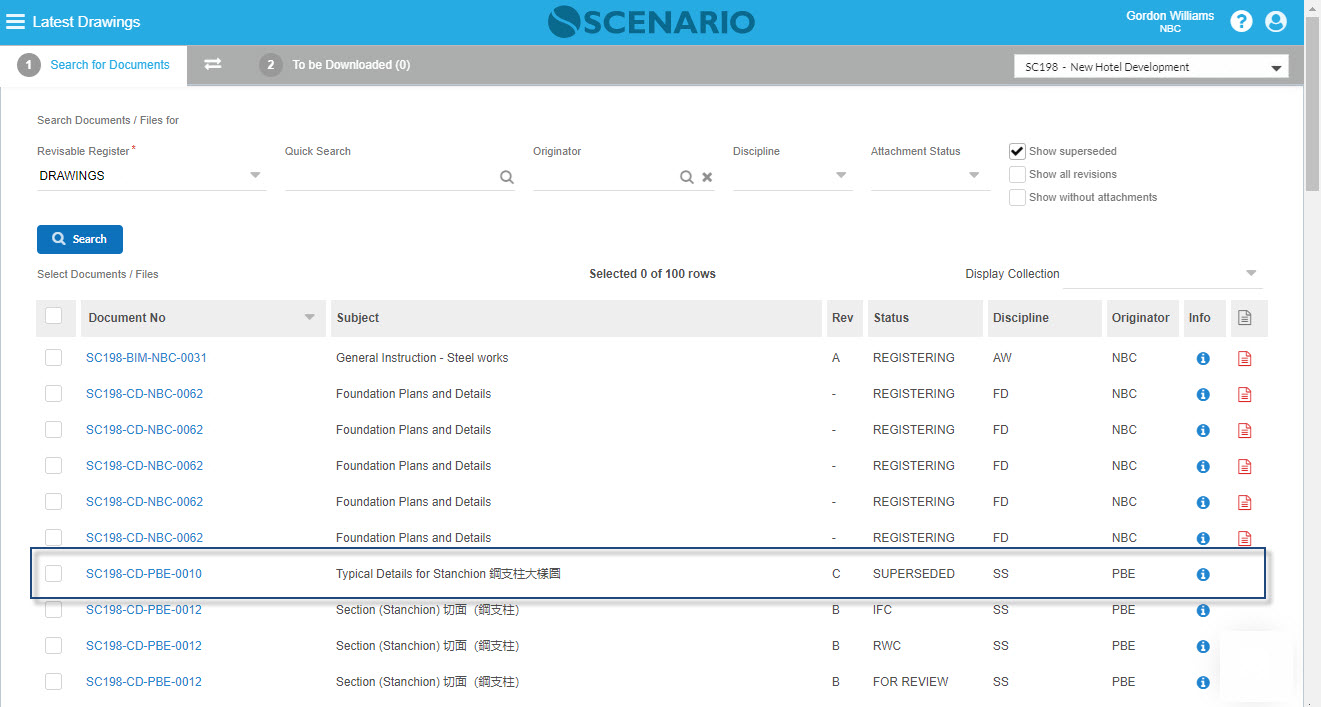
| Show Superseded | When this checkbox is ticked, records with Superseded attached files will be displayed in the search result. Note - At some point, Show Superseded & Show All Revisions check-boxes must be both ticked especially if there are superseded files already in lower revisions. |
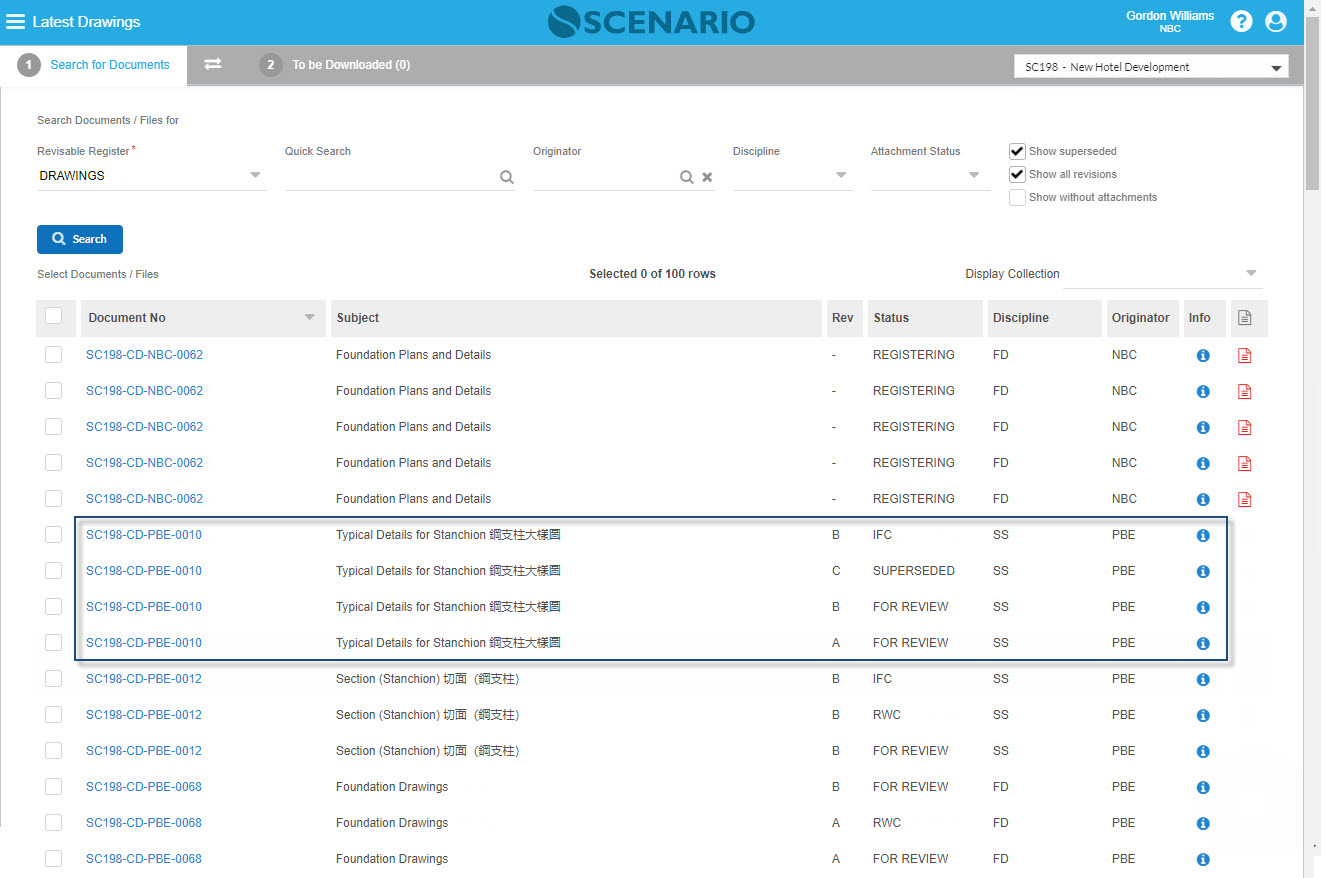
| Show All Revisions | This is a checkbox that when ticked will display all the revisions of the documents in chronological order, starting with latest on top. By default, this is not ticked. |
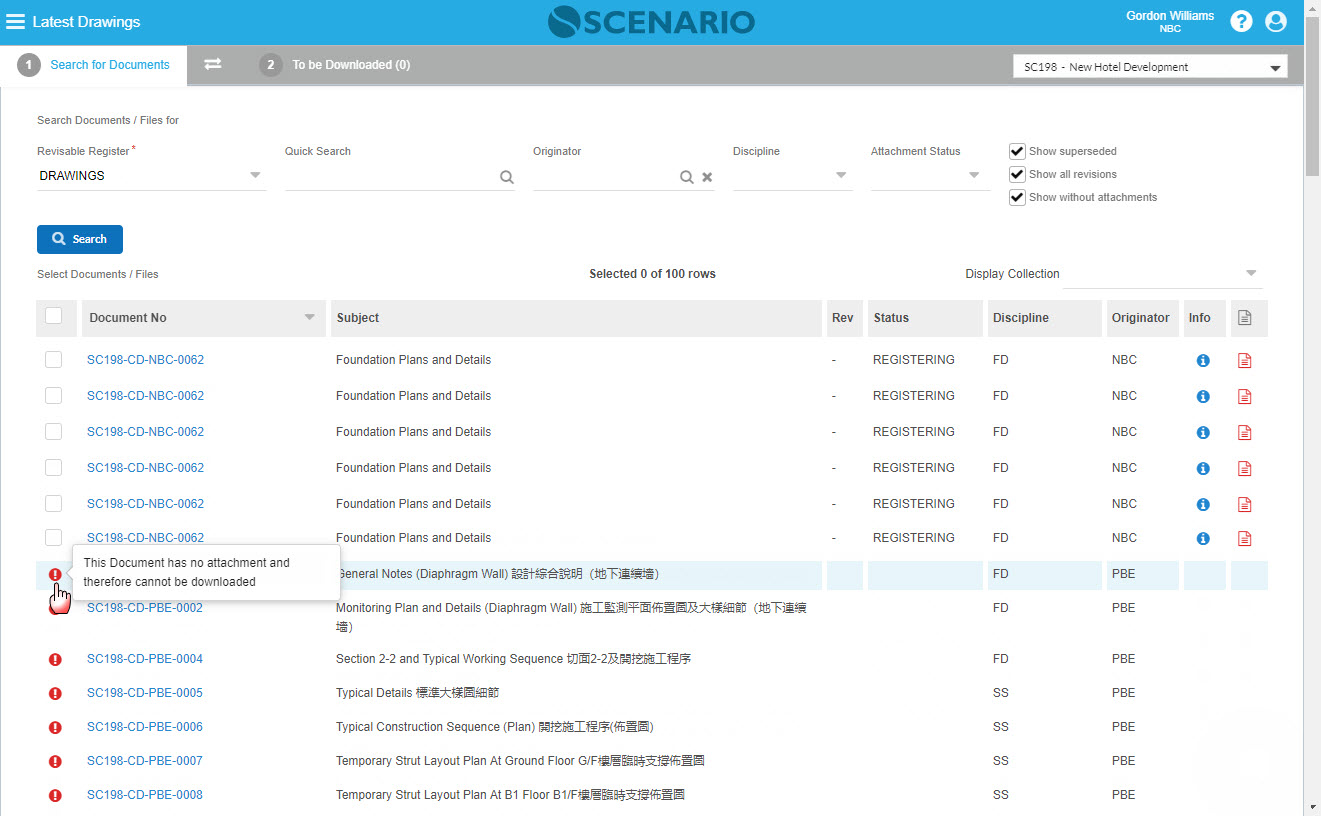
| Show without Attachments | The Documents without attachments are likewise displayed on the rows in addition to the base data. Note: All Documents without attachments are displayed with the red info icon on the first column of the row. |
| Red Info icon | Info pop-up that indicates 'This Document has no attachment and therefore cannot be transmitted.' |
| Search button | When clicked, the search result is displayed. |
| Display Collection | When an existing Collection is selected by the User, the assigned Documents or Attachments are displayed. |
| Columns: | |
| Document No Toggle | Toggle options are:
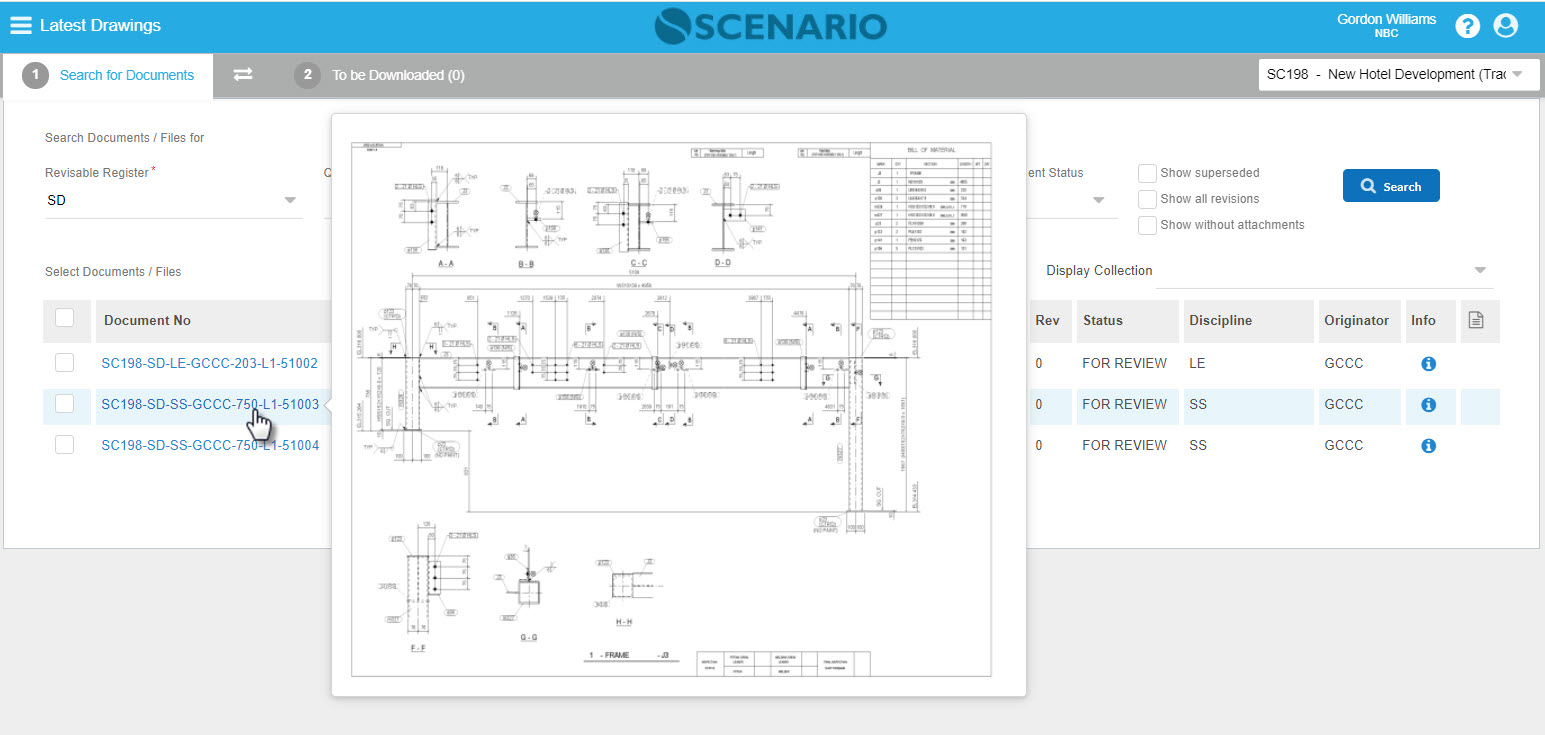
Note: Toggle action changes the Document No column only Attachment preview is also available in this LD screen; hover on the Document No to display the Drawings preview. |
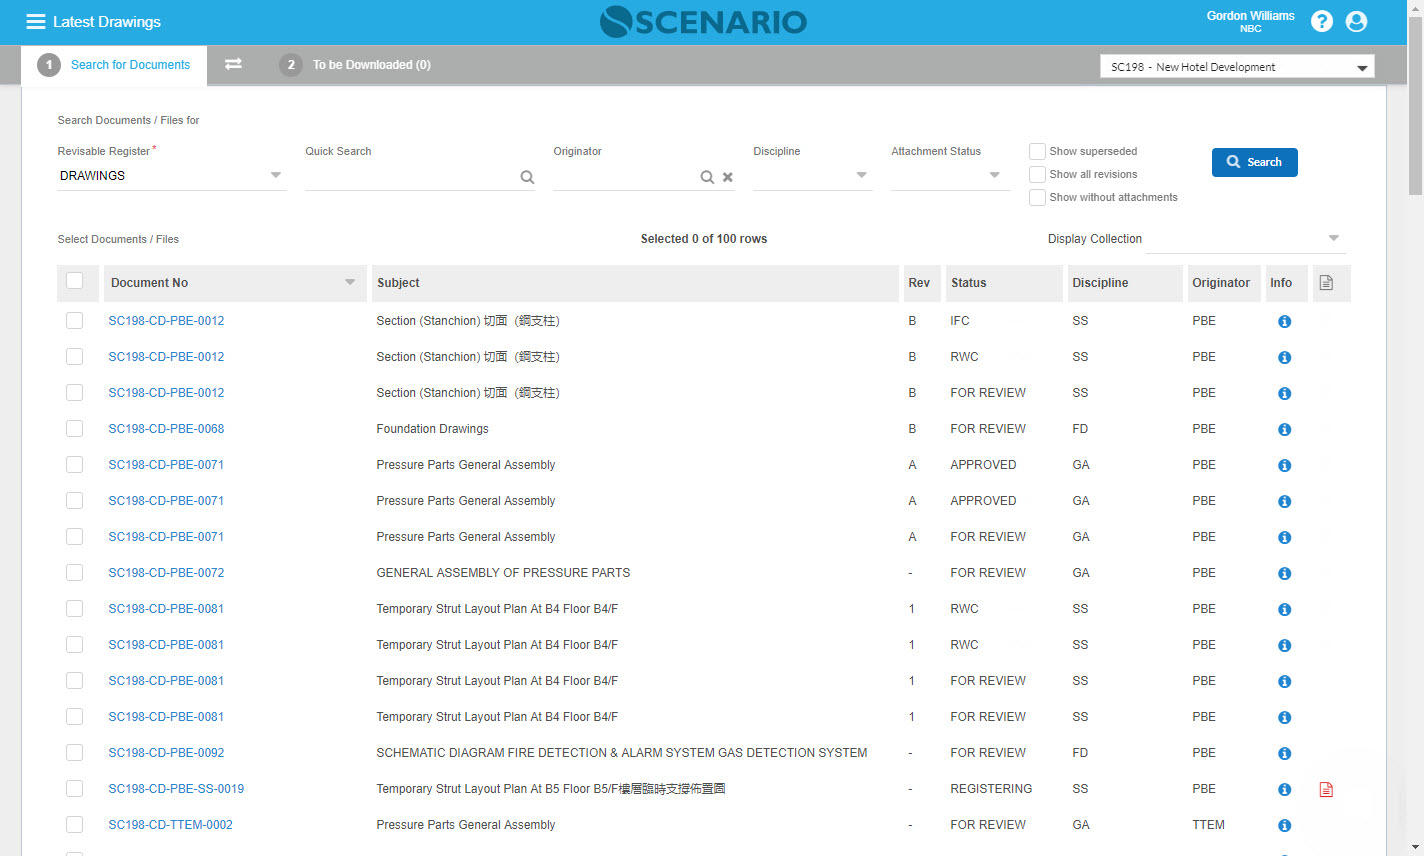
| Search Result Columns | The columns where the search result is displayed are the following:
|
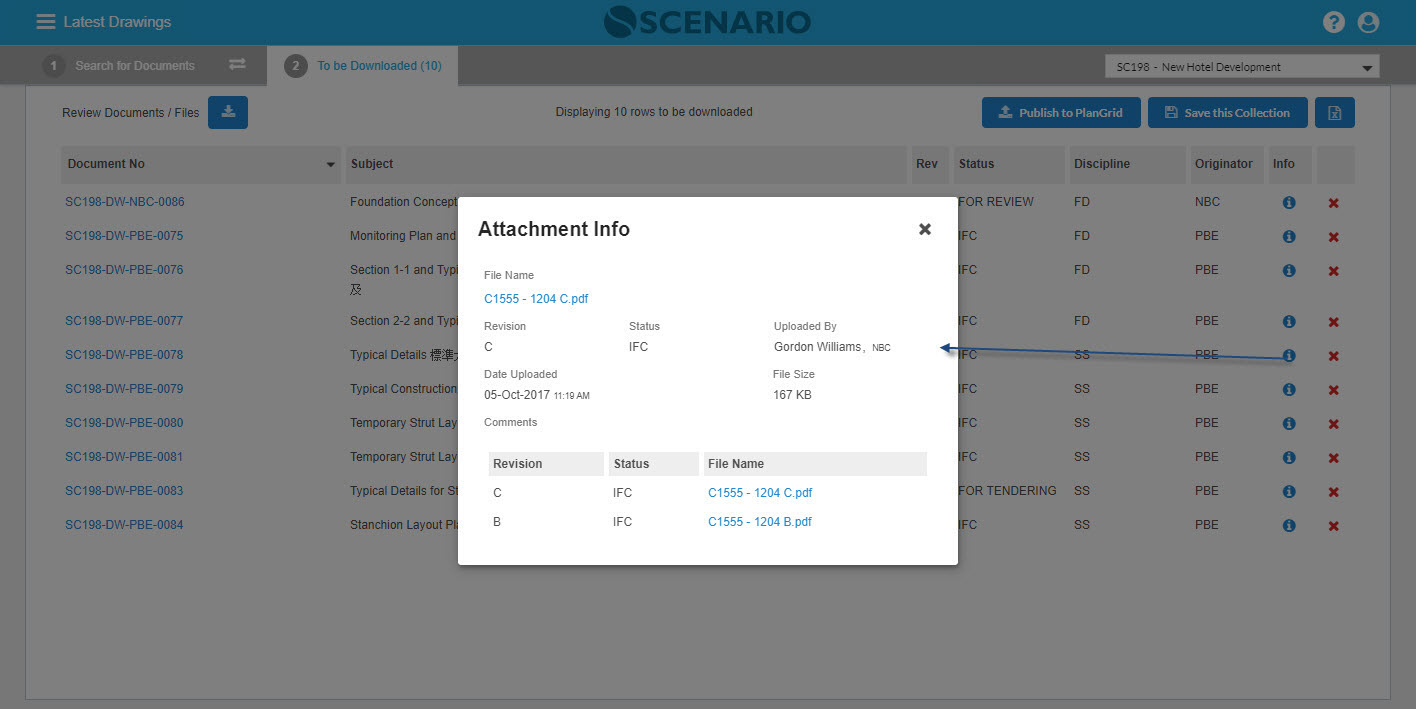
| Blue Info icon | Once clicked it presents the Attachment Info pop-up including the full list of Revisions history. |
| Published icon | This is located at the rightmost column of the row. For records that are already 'Published' the rows will be shown as blank for this column; and when 'Not yet Published', a red Published icon will be displayed. Note - when the red 'Unpublished' icon is hovered, a tool-tip will appear stating 'This Document is not Published'. |
Search for Documents - Sorting
- By default, items are sorted by the Master Document Number; however, sorting of all columns except the Document No. in ascending or descending order can be done by clicking on the header of the column.
Search for Documents - Select a Collection
- User can select an existing collection from the Display Collections drop-down list. All Document rows in the selected Collection (either with or without Attachments) are displayed.
- Once a Collection is selected, no Search filters can be used; this is because a Collection could span more than one Register. A Collection can be used many times for a Transmit Document process.
Search for Documents - Outcome
- The 'Outcome' is when the User select Attachments or Documents from the search result and auto display on Tab 2 (To be Downloaded). Upon selecting Attachments or Documents, a 'Count' of these selected search rows is shown, e.g. 'Selected 5 of 25 rows'.
- Only Documents with attachments can be selected; a blue info icon can be clicked to open the Attachment Info pop-up that displays the Attachments details including the full list of Revisions history. The User can click on the filename hyperlink to download the Attachment.
- Documents without attachments are displayed with a red info icon at the start of the row.
- Documents (e.g. Drawings) sent via a transmittal but originate from another company, can be found in the searched result when the Parent Contact Security is switched on for Drawings Register.
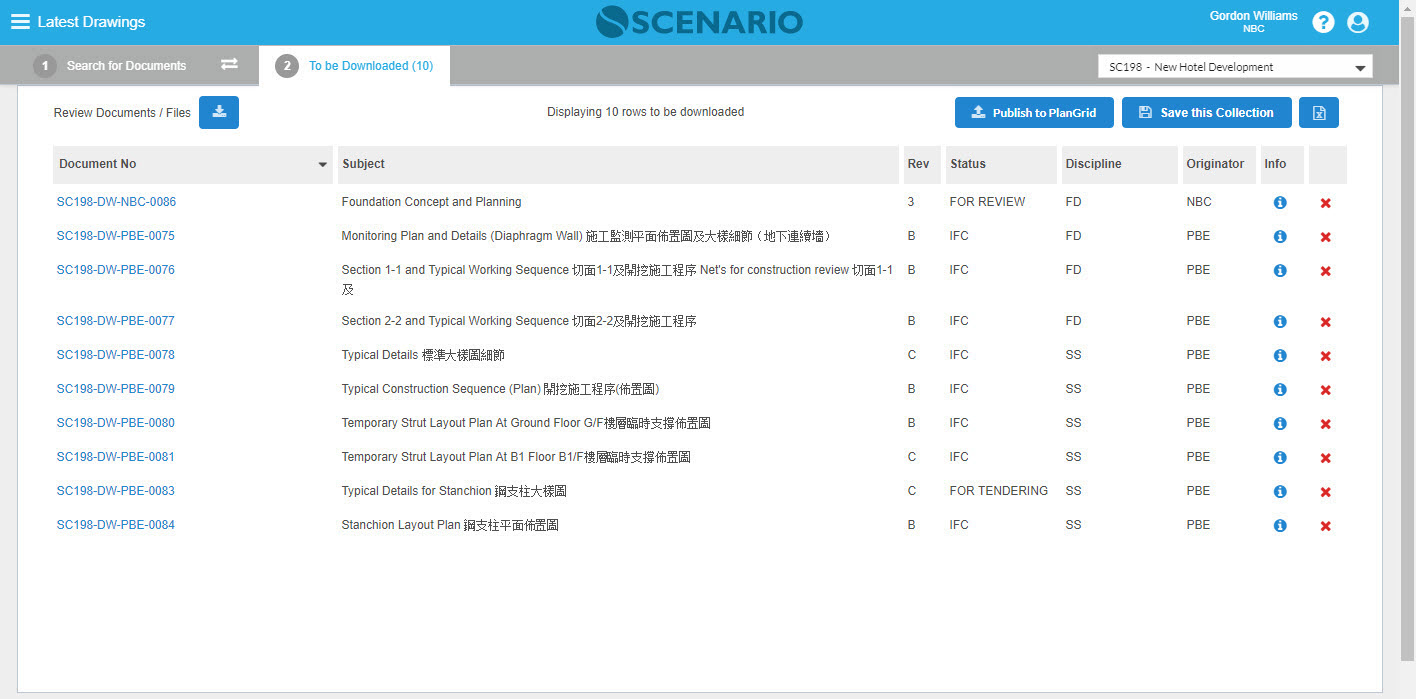
To be Downloaded (Tab 2)
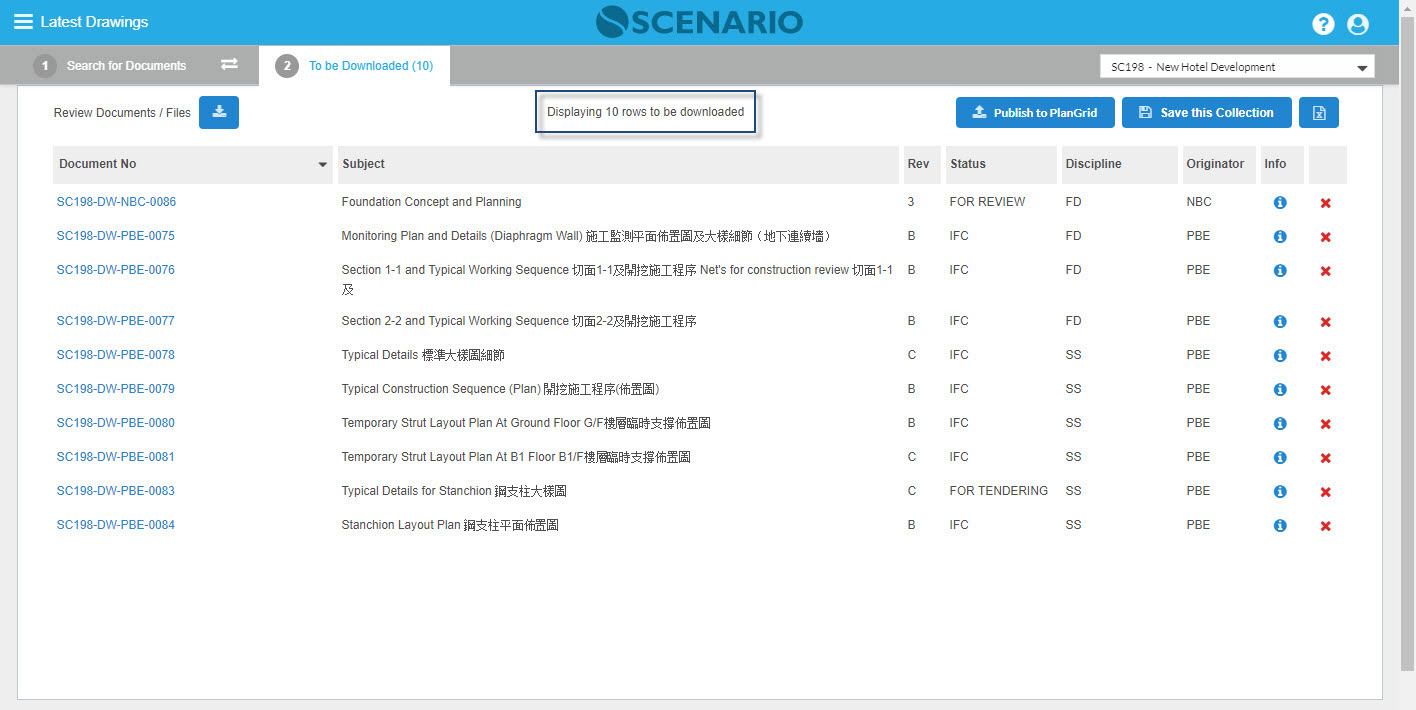
This tab displays the selected Attachments/Documents; it also shows the 'Count' of rows that are to be Downloaded. On this tab, the User can edit the selected Attachments by deleting from the list or adding more to be downloaded. In case the User opted to select another Document or change the Attachment by selecting another Revision, he/she must go back to Tab 1 to search for Documents/Attachments again.
All items shown in this tab are rows with Attachments only, for any Document without an attachment will not be displayed on this tab.
The Documents in Tab 2 is by default sorted by the Document No.; however, it can also be sorted by other columns such as Subject, Rev. No., Status, Discipline and Originator.
Field / Button / Icon | Description |
|---|---|
| Review Document/Files (Multiple Download) | Use this button to download the Files. |
| Publish to PlanGrid | Allows you to upload specific Drawings to PlanGrid. |
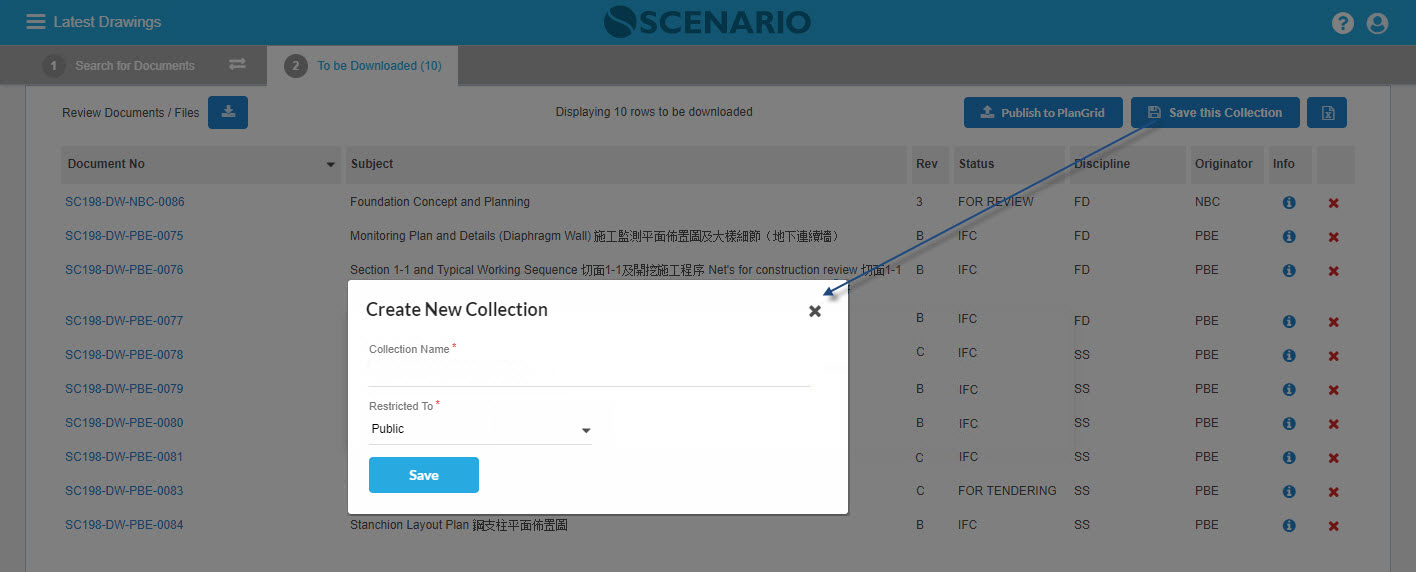
Save this Collection | When clicked, User able to create/save new Collection of selected Documents that are to be downloaded. |
| Export to Excel | This button allows the User to extract the list of selected Documents/Attachments into excel file. |
| Columns: | |
Document No Toggle | Like in Tab 1, User also able to toggle Document No column to Filename or Reference No. |
| Subject | Document's Subject |
| Rev No | Revision No. of the Attachment |
| Status | Current Status of the Attachment |
| Discipline | Document's Discipline |
| Originator | Document's Originator |
| Blue Info icon | This is located at the rightmost column of the row and once clicked it presents the Attachment Info pop-up including the full list of Revisions history. |
| Delete icon | When clicked, the selected Document/Attachment will automatically be deleted. |
How Do I?
How Do I Search Documents/Attachments to be Transmitted by using the Register and Other Filter Fields?
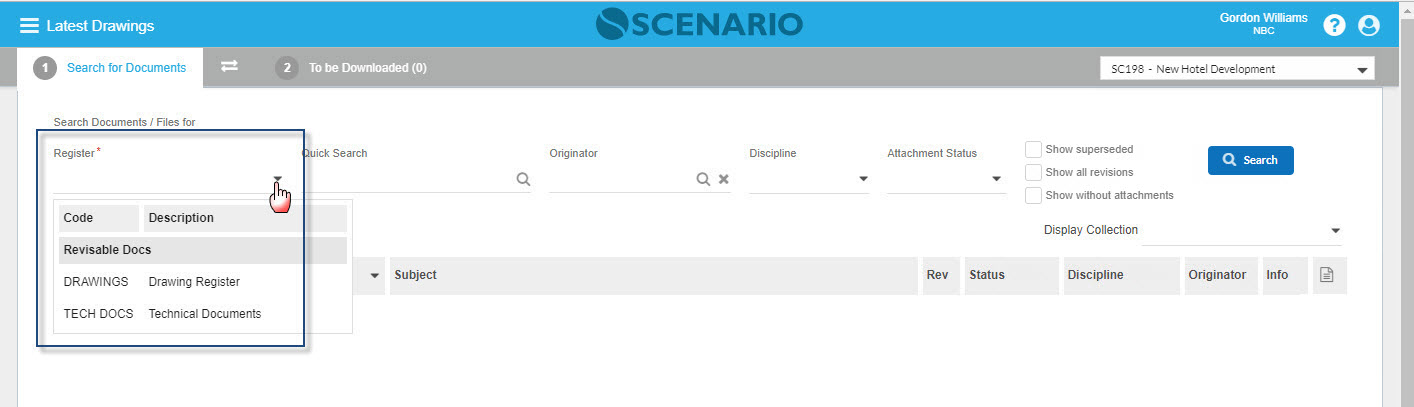
1. Select a Revisable Register from the drop-down list |
|---|
|
To display Documents/Attachments, the Register field must be entered. Only Drawing Registers (Revisable) and are assigned to the AuthUser will appear in the list. Note: When there is only one Register set as Revisable, it will auto display in the Register field. |
| 2. Select Discipline, Originator or Attachment Status |
|
| To further filter the search (though optional), User can select from other filter fields. The Originator can be entered with Company one at a time only by selecting from the Contact lookup pop-up or by entering a code in the field to auto display the possible match from the list of Companies. On the other hand, Attachments Status is Register specific and will only display the option when a Register has been selected already. |
| 3. Tick the Show Superseded check-box |
|
To display in the search result the records with superseded attachments, set the 'Show Superseded' flag to True. The user can then view the base documents plus the records with superseded files. Note that to display as well the superseded files with lower revision numbers, also tick the 'Show all revisions' check-box. |
| 3. Tick the Show all Revision check-box |
|
| If user opted to view the Documents/Attachments with already various Revisions, User can check the Show all Revision checkbox. All Revisions of a certain Attachment are listed in the Attachment Info pop-up. |
| 4. Tick the Show without attachments check-box |
|
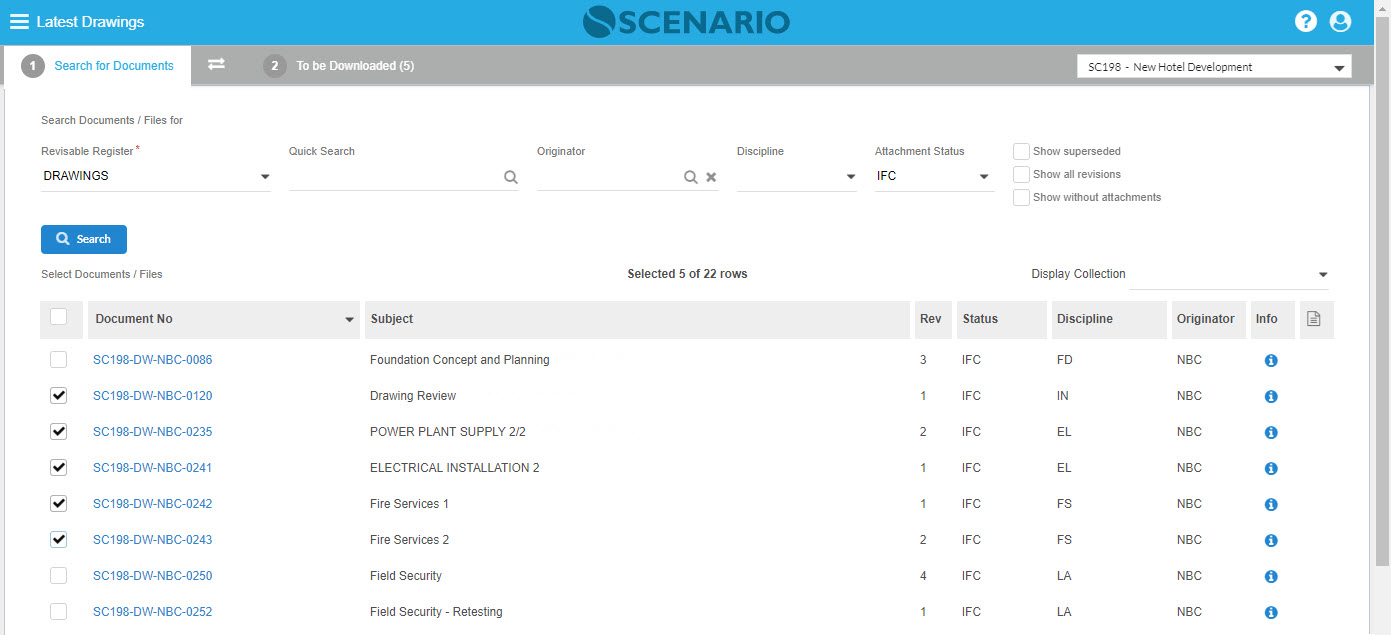
| Upon clicking the Search button, all Documents/Attachments rows will be populated. Documents without Attachments will be presented with red info icon on the first column of the row stating that 'This Document has no attachment and therefore cannot be transmitted'. Only Documents with Attachment(s) can be selected. User can then select by checking the Documents/Attachments that are to be downloaded. Note: A Count of the Document rows selected will be displayed both in Tab 1 and Tab 2 and a Tab Count will also be visible on the label of Tab 2. When there are already existing selected Documents in Tab 2, the Count will be updated with the number of additional selected Documents in Tab 1. |
How Do I Search Documents/Attachments by using the Display Existing Collection option?
1. Select an existing Collection from the Display Collection drop-down list. |
|---|
|
Once a Collection is picked, all Documents included in that Collection will be automatically displayed, regardless with or without Attachments. A Collection can be used many times by the User to process Download. Similar to the above process, only Documents with Attachment(s) can be selected, and by default, those Documents without Attachments will be presented with red info icon. It is to be noted that when Display Collection is used, the filtering fields cannot be used. Note - To select saved Collection, use the drop-down list (latest Collection on top) or enter the Collection name in the field. |
How Do I Review Attachments that are to be Downloaded?
1. Go to 'To be Downloaded Tab' - Tab 2 |
|---|
|
After Documents/Attachments were selected, User can proceed to Tab 2 and review the selected items. In the event that the User chose to add more Documents/Attachments, he/she can just go back to Tab 1 and select again. The Count of selected Document rows is also visible in this tab. |
| 2. Open the Attachment Info |
|
To check if the selected Attachment Revision is indeed the correct one that is to be download, open the Attachment Info pop-up (this can be done also in Tab1). It contains every information the Attachment has, including the full history list of Revision numbers. |
How Do I Create/Save a New or Current Collection?
1. Select the Save this Collection button |
|---|
|
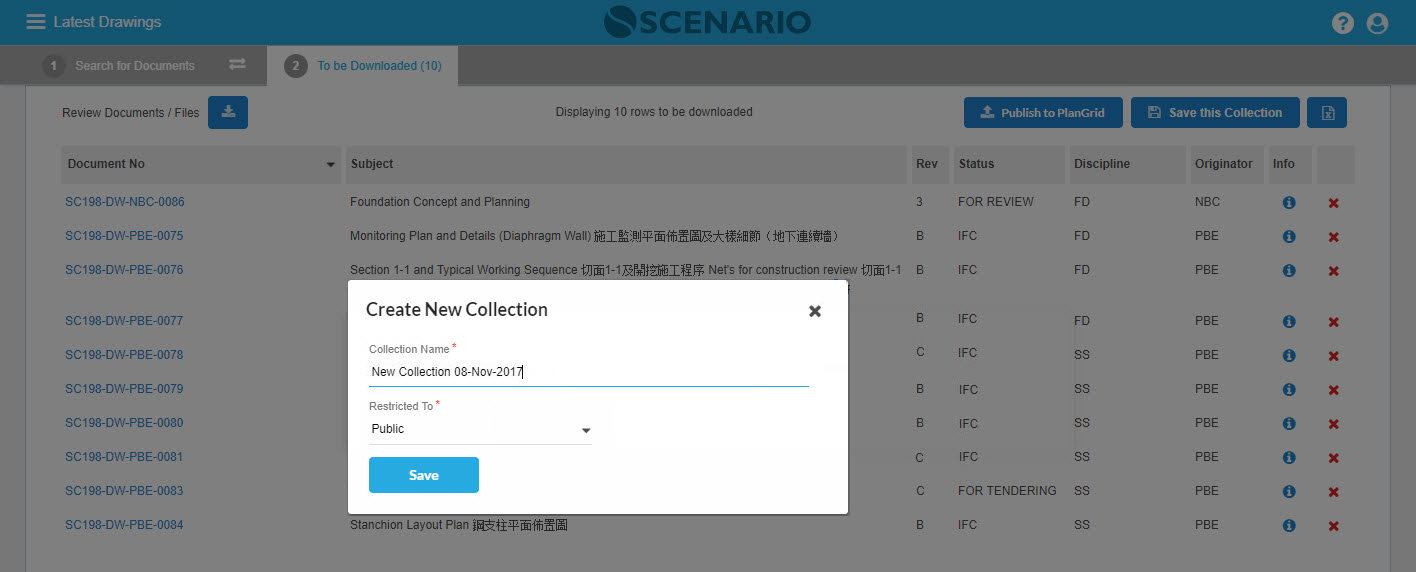
From the selected Documents/Attachments in Tab 1, a new Collection can be created by clicking the Save this Collection button in Tab 2. A pop-up page will appear. |
| 2. Enter the Collection label/name. |
|
Enter the preferred Collection label and then save; otherwise, click the cancel button if will no longer continue creating a new Collection. Select the desired Collection Confidentiality (Restricted To) from the drop-down list). Note: Saved Collection can be used again by the User. |
How Do I Export Files/Documents to Excel?
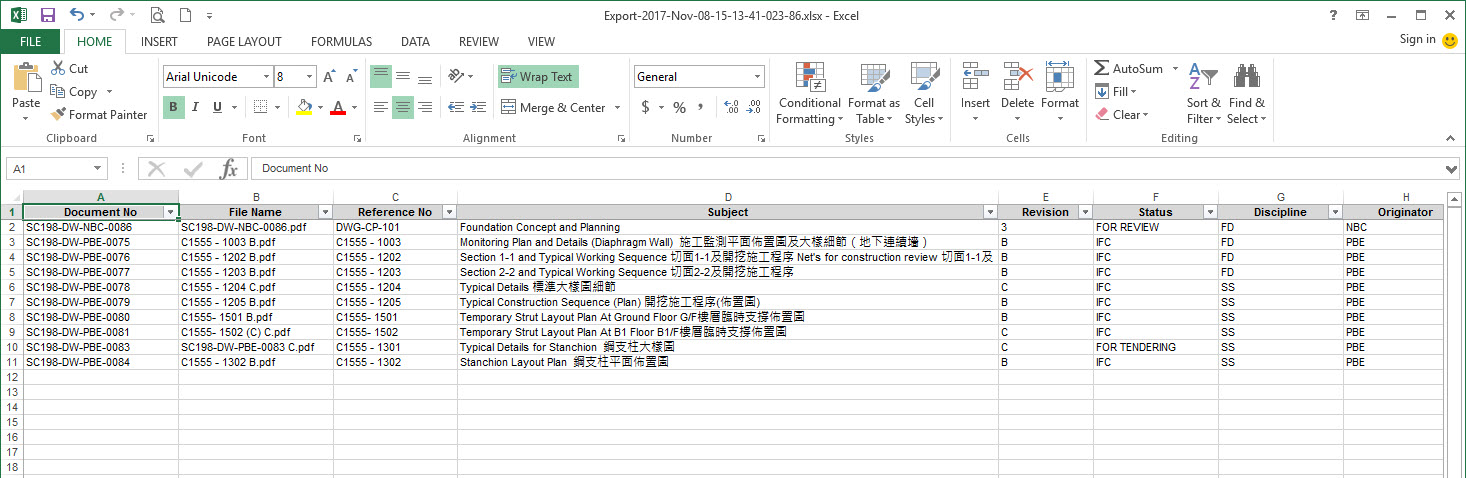
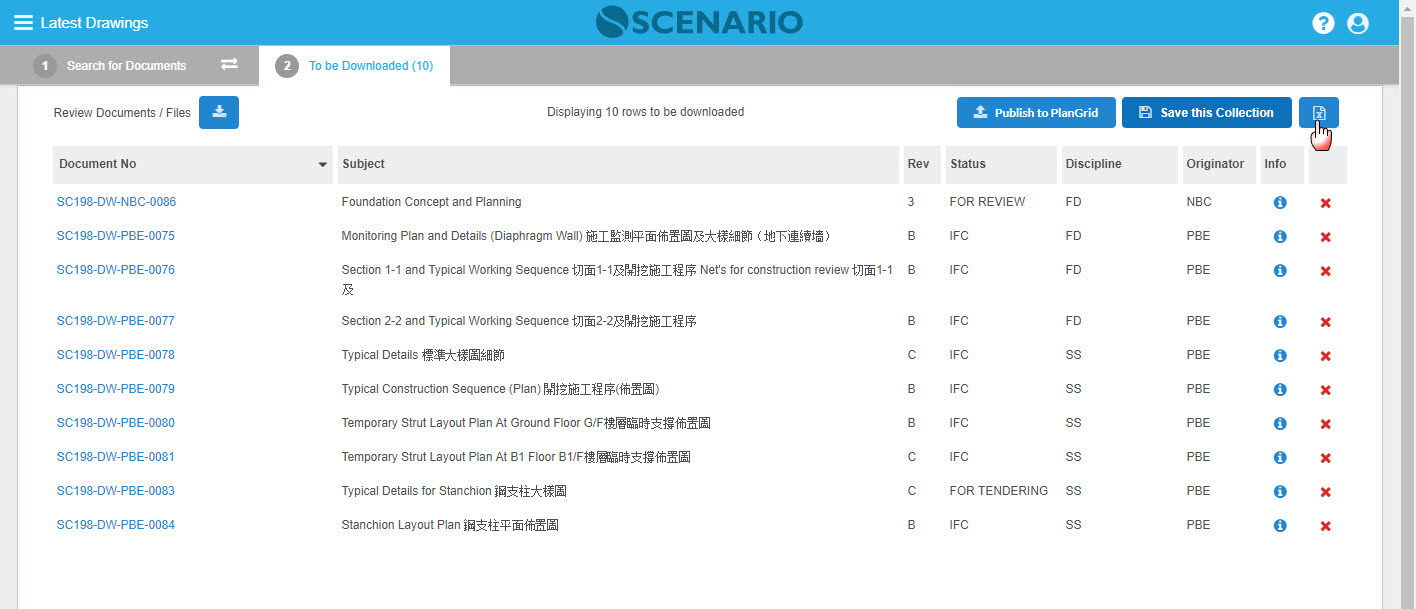
1. Go to Tab 2 and select the Export to Excel button. |
|---|
|
In Tab 2, the list of items to be transmitted can be exported to excel file by clicking the 'Export to Excel' button. Excel file will be presented below. |
 |
How Do I Download Latest Drawings?
1. Select Documents/Attachments in Tab 1 |
|---|
Please see How Do I Search Documents/Attachments to be Downloaded by using the Register and Other Filter Fields? or, How Do I Search Documents/Attachments by using the Display Existing Collection option? |
2. Review the selected Documents/Attachments in Tab 2 |
| Please see How Do I Review Documents/Files that are to be Downloaded? |
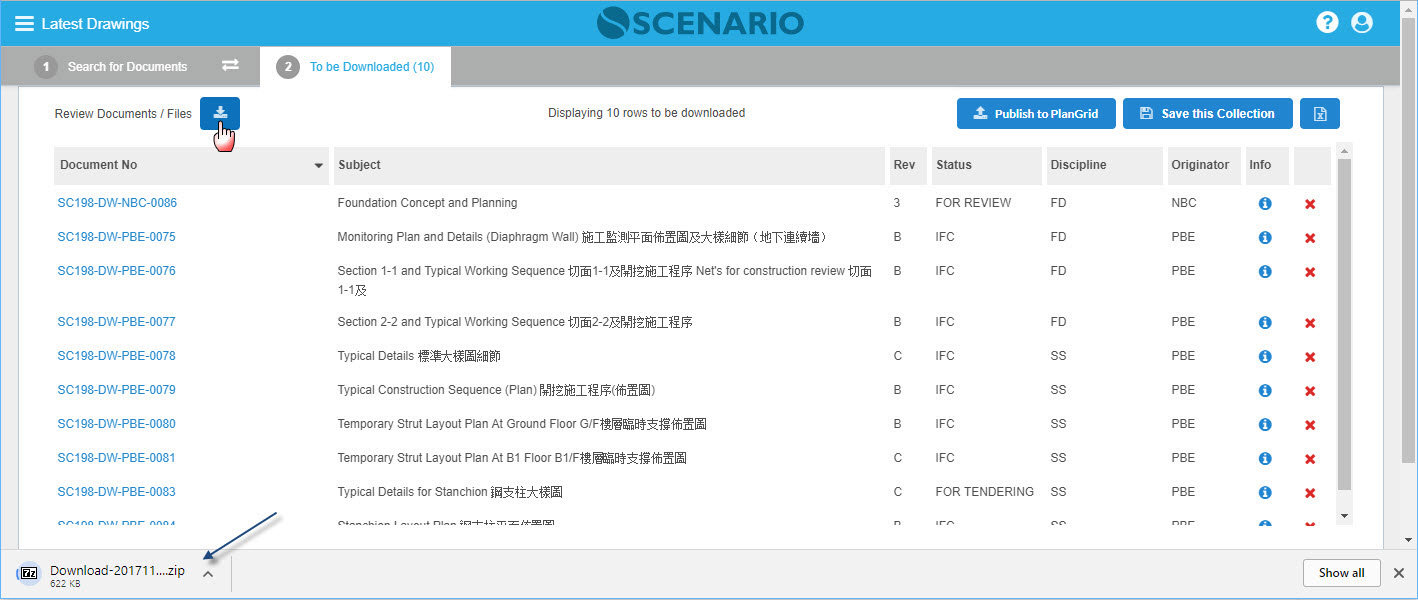
| 3. Click Download button |
|
Selected files can now be downloaded by clicking the Download button. All files in Tab 2 will be downloaded. |
| 4. Open downloaded file (in zip) |
|

How Do I Publish Drawings to PlanGrid?
|
|---|
|
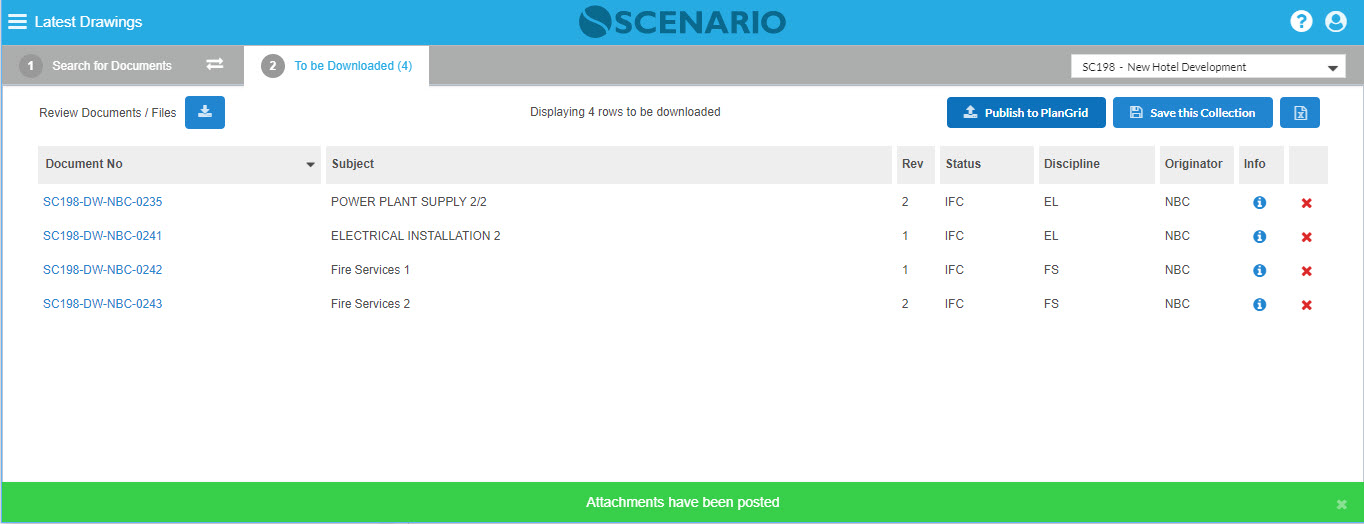
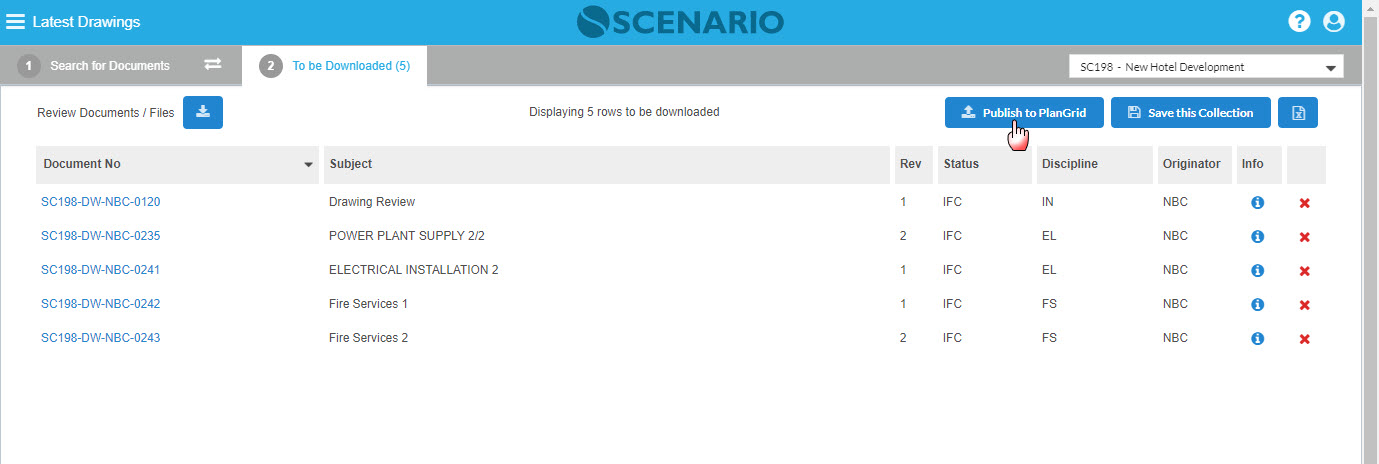
| 2. Proceed to Tab 2 and send the selected Drawings to PlanGrid. |
|
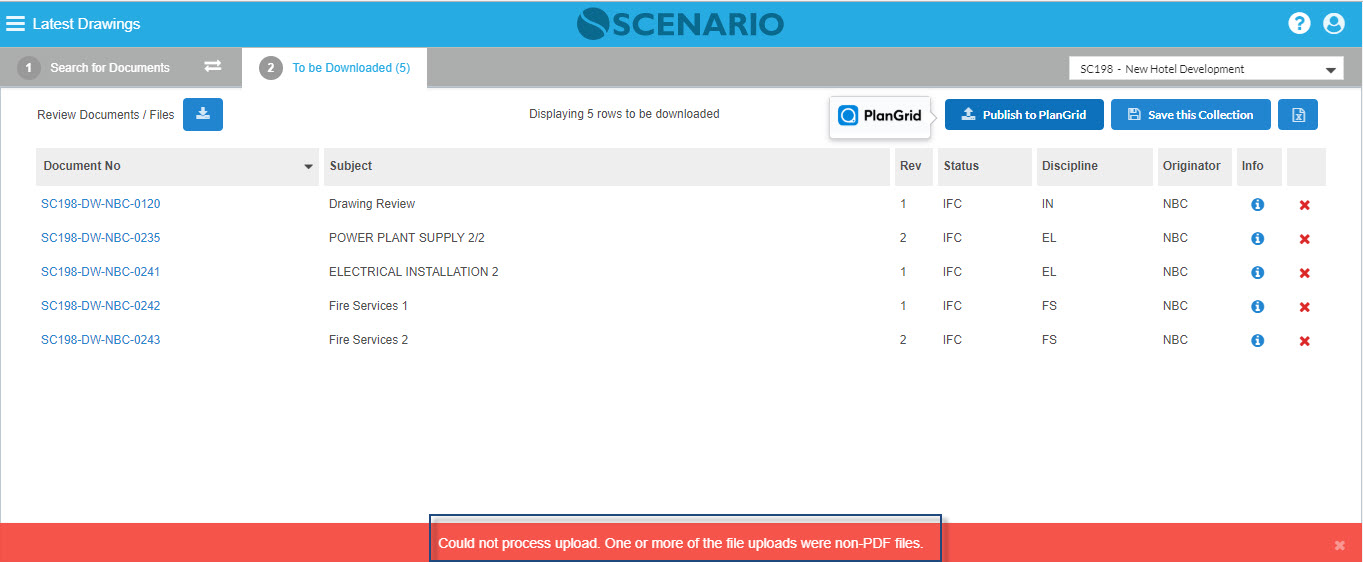
| 3. Validation Message will appear when there is a non-PDF file. |
|
| 4. Remove the non-PDF file(s) and click Publish to PlanGrid. |
 |
Examples of Use
Attachment Preview in LD
Hover the Document No to display the Drawings preview.
Related Topics
<insert any related topics here>